How to Install Rustic Shiplap Cladding
Posted 3/14/2019 by Cassie Klitzke

Installing Rustic Collection shiplap can be a quick and easy process if you take the right steps to prepare. We created step by step instructions on installing rustic shiplap so you’ll be 100% confident that you have the tools and knowledge for the job.
Tools Needed
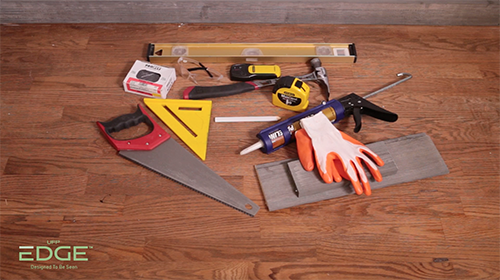
- Caulk gun
- Construction adhesive
- Dust mask
- Hammer or brad nailer
- Jigsaw or small hand saw
- Leve
- Miter saw or miter box
- Nails
- Paint
- Pencil
- Roller brush and Pan
- Safety glasses
- Square
- Tape measure
Step 1: Calculate Square Footage
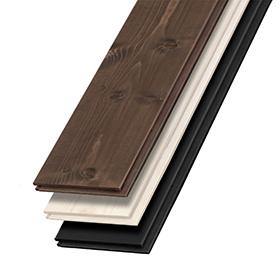
Calculating the square footage of your wall (or ceiling) can be done by measuring the height and the width, then multiplying those two numbers. Once you have the square footage, you will need to figure out the square footage of the boards so you know how many boards you will need to complete your project. If you are not sure of the square footage of your boards, head over to the product pages to find a breakdown of shiplap square footages for 8-foot-length boards.
We have a coverage calculator as well to help determine how many kits are needed based on the square footage of your project area. It is always recommended to buy 10% more than you need to allow for consistent color of boards and in case you encounter some errors when installing.
Step 2: Before Installation
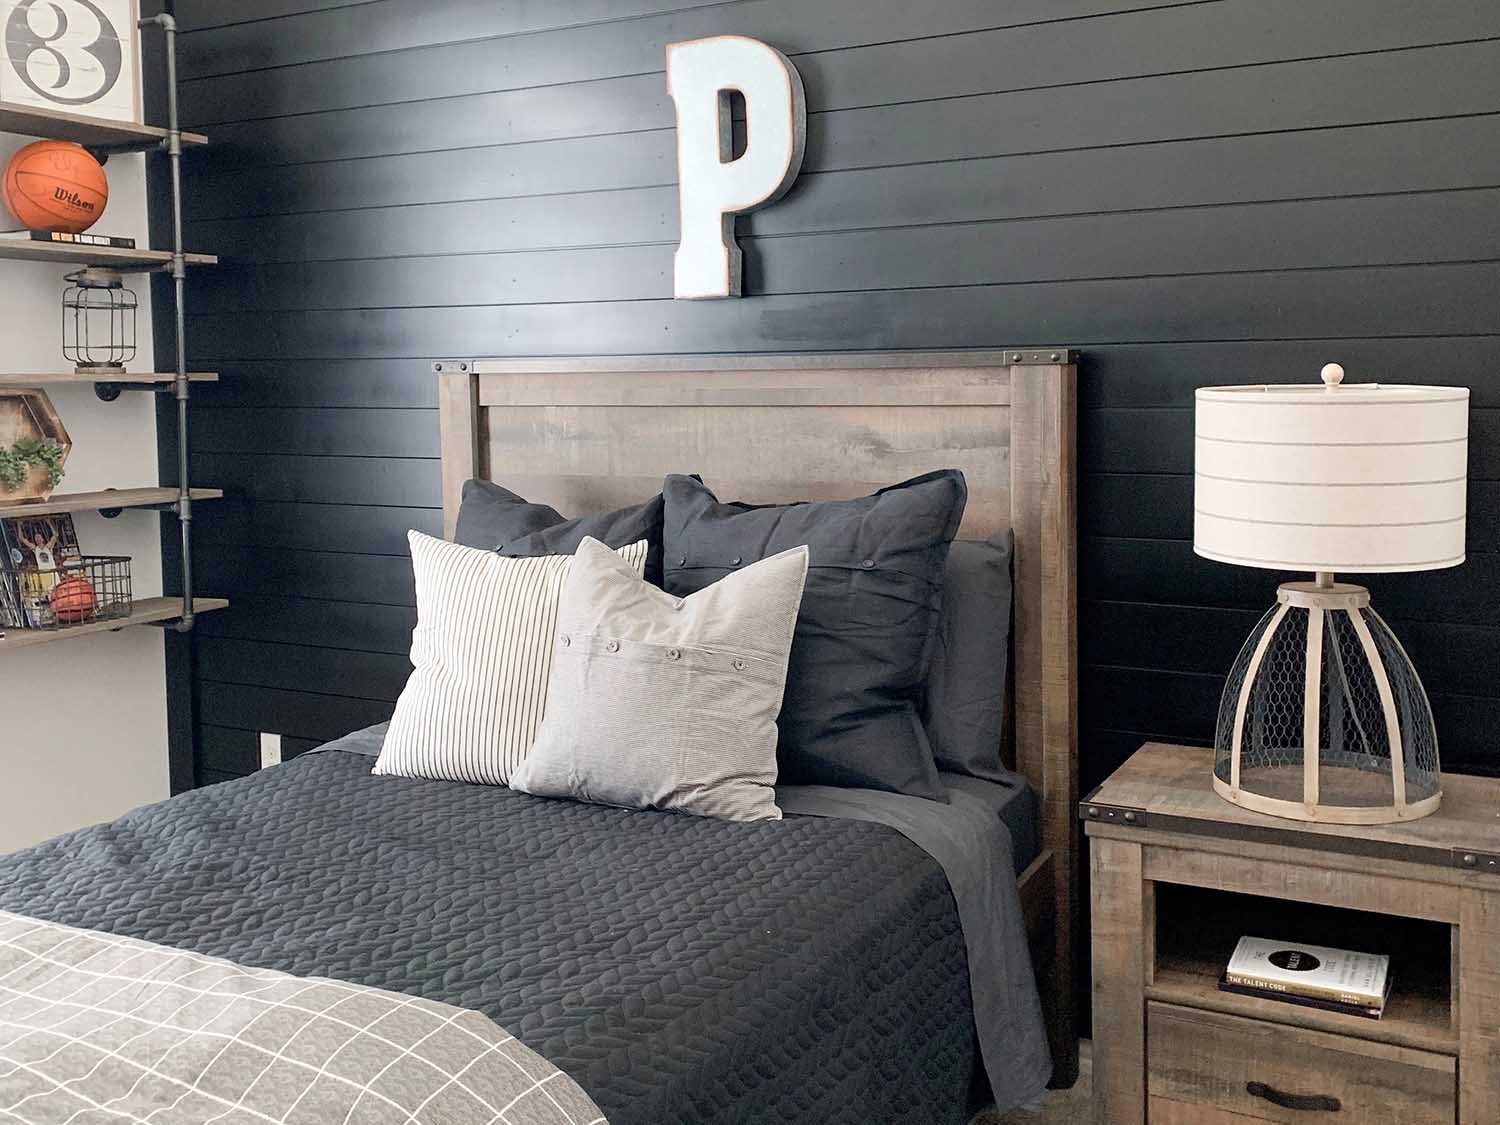
Allow the shiplap to acclimate for several days prior to installation in the room in which it will be installed. Variances in temperature and moisture between the storage and application areas have a negative effect on the finished appearance if the product doesn't adjust to room conditions prior to installation. As wood dries, a slight joint may open up. It is recommended to paint the surface behind the wood a dark color.
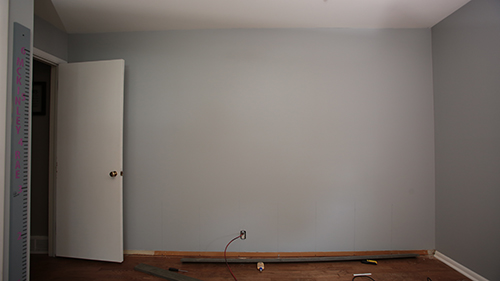
Step 3: Prepare the Surface
Prepare the surface of the wall for installation by removing any nails and outlet covers. We also recommend thoroughly cleaning the surface of the wall with soapy water.
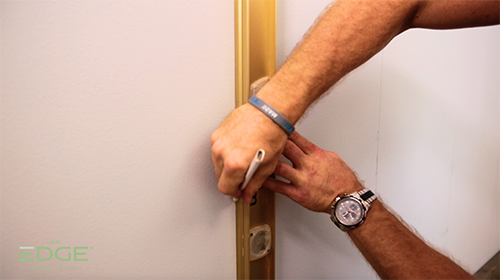
Step 4: Locate your Studs
For horizontal installation locate the studs along the wall and mark them with a level.
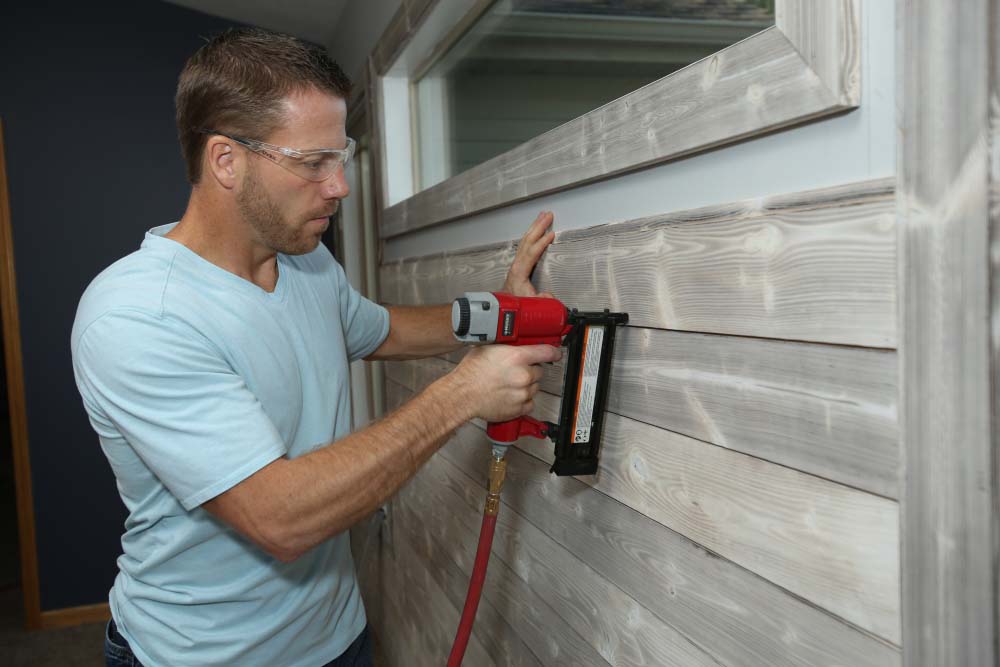
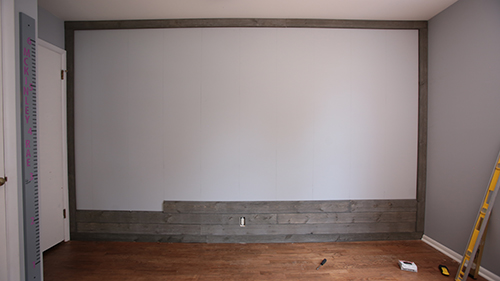
Step 5: Begin Installation
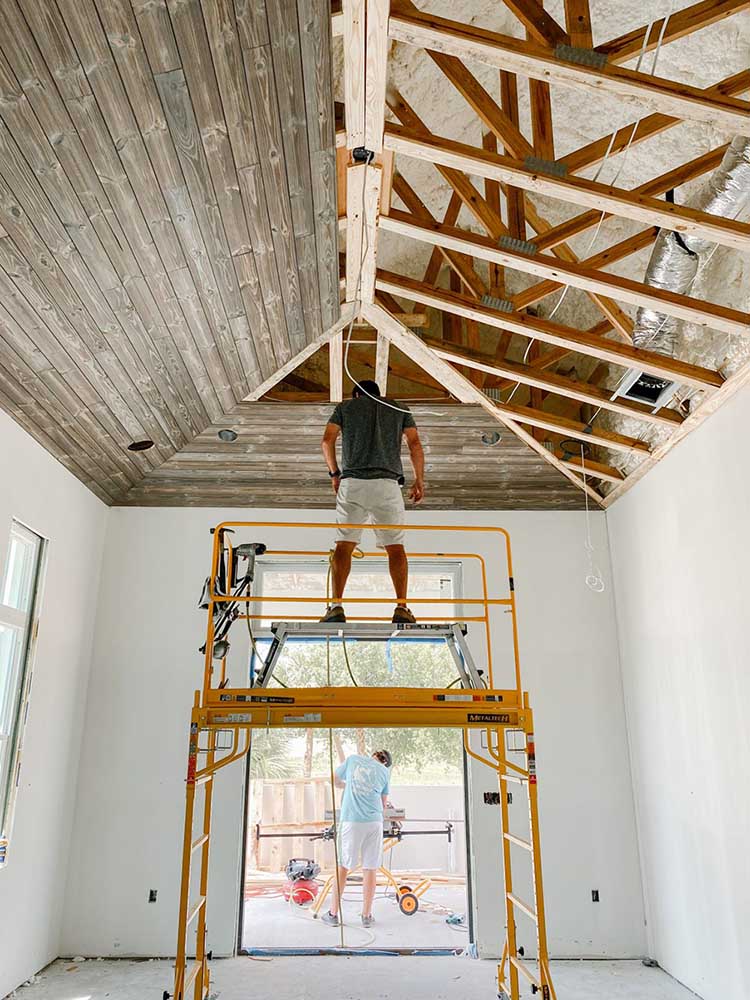
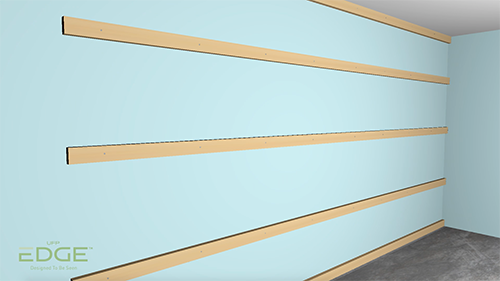
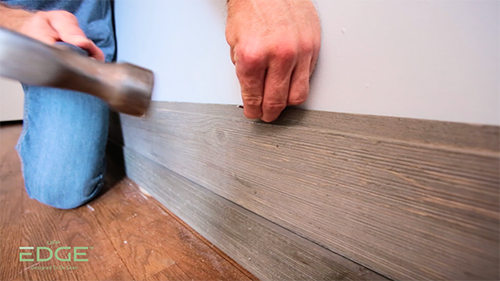
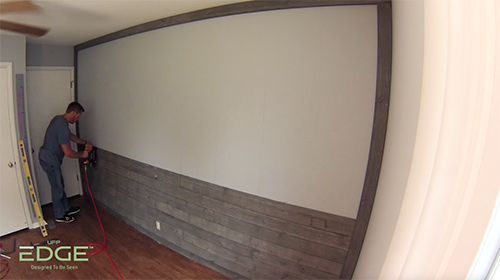
Start from the bottom and nail directly to the wall framing when installing in a horizontal orientation. For applications where vertical orientation is desired, full-length furring strips must be installed 24 inches on center. Use standard or painted trim nails (15 or 16 gauge). Fastener length should be long enough for 1 1/4 in. - 1 1/2 in. of penetration into solid wood.
Nail through the top flange. A second nail should be placed through the bottom face of the board, approximately 1 in. from the bottom edge.
Make sure you do not nail through overlapping pieces.
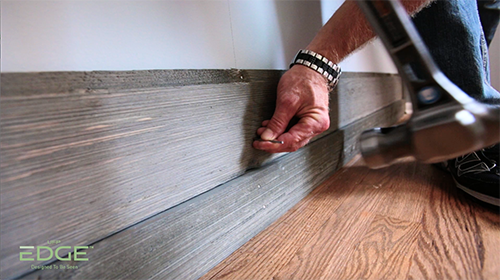
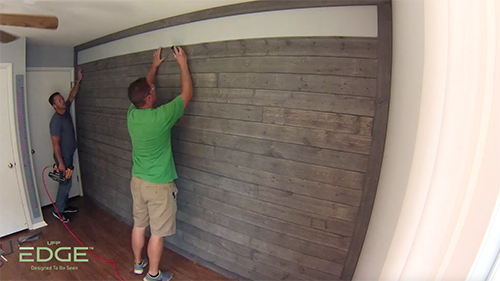
Continue installing from the bottom up. Cutting boards to fit and using the leftover end to start the next row. This will help create a staggered effect along the wall.
What if my wall isn’t made of drywall or exposed studs?
When installing shiplap over plaster or hardboard, the walls need to be in moderately good condition. Construction adhesive is usually the easiest and fastest way to install wood shiplap over drywall, plaster, hardboard and even old shiplap. When applying adhesive, be sure to follow the manufacturer’s instructions. To make sure you have a tight joint when applying adhesive, use small nails to tack up and hold the shiplap in place on the drywall or plaster while the adhesive sets. Apply tack nails every two or three feet.
What should I use to cut the shiplap boards?
It is recommended that a finish blade or fine tooth saw be used when cutting to reduce splintering.
Download the Rustic Collection shiplap installation instructions for quick and easy reference.
Ready to start your project? Find where to buy.