Your Project
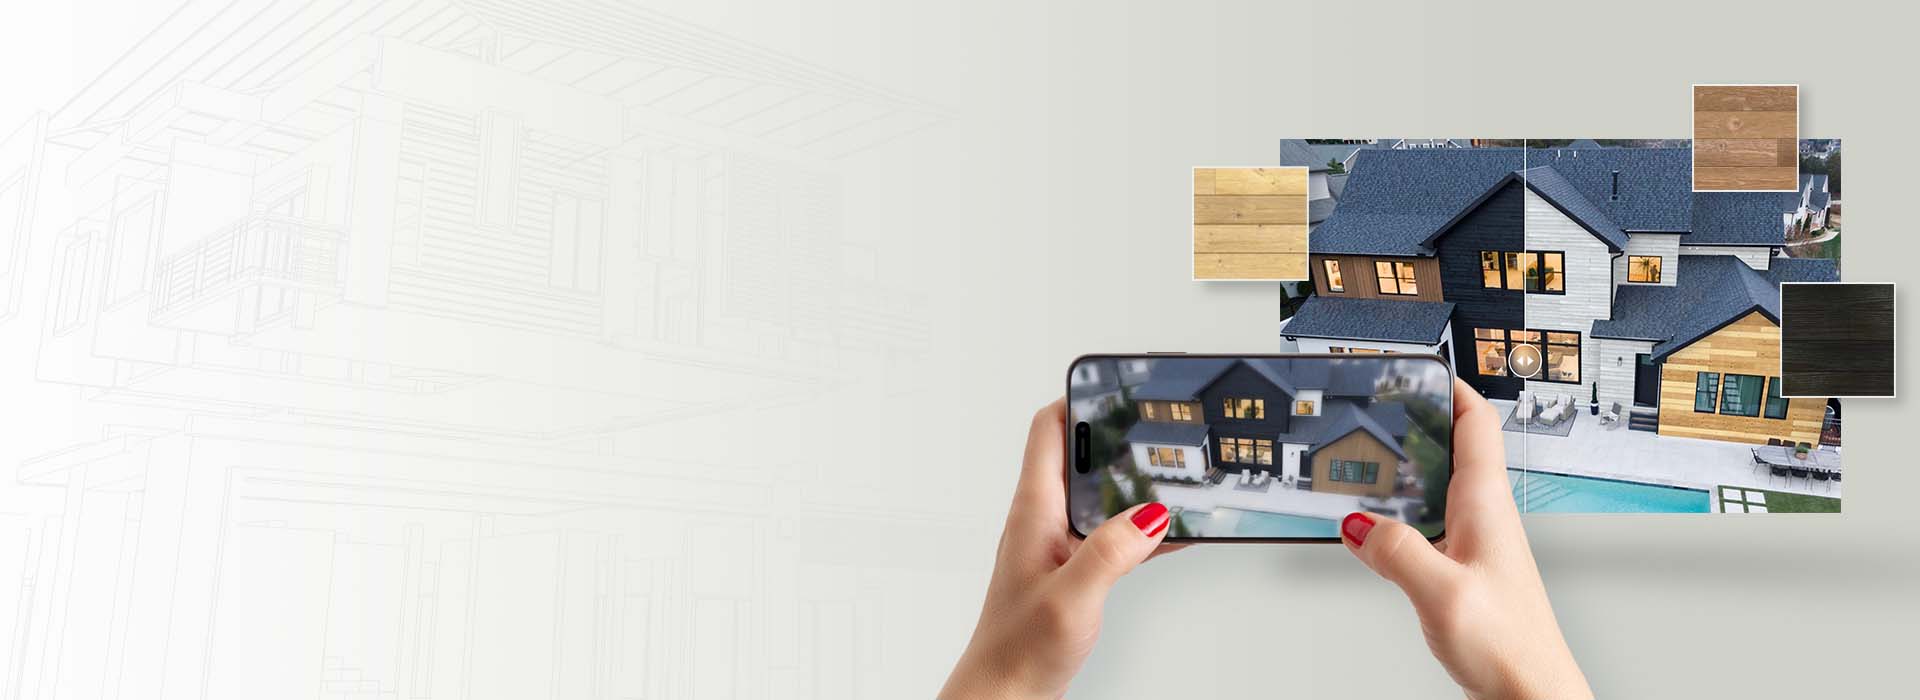
Design Your Home
Discover our AI-powered product visualizer! See our products in your space in seconds.
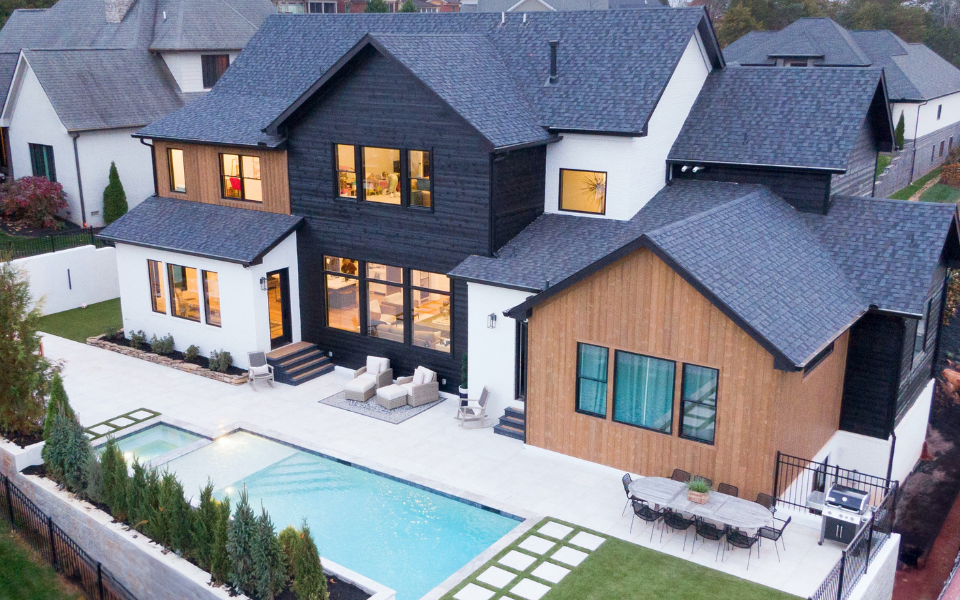
Project Spotlight: Knoxville Dream House
We're dedicated to creating more than beautiful spaces; we believe in crafting places that foster connection and forge lasting memories.
Check out how our products became a part of this family's story.
Blogs
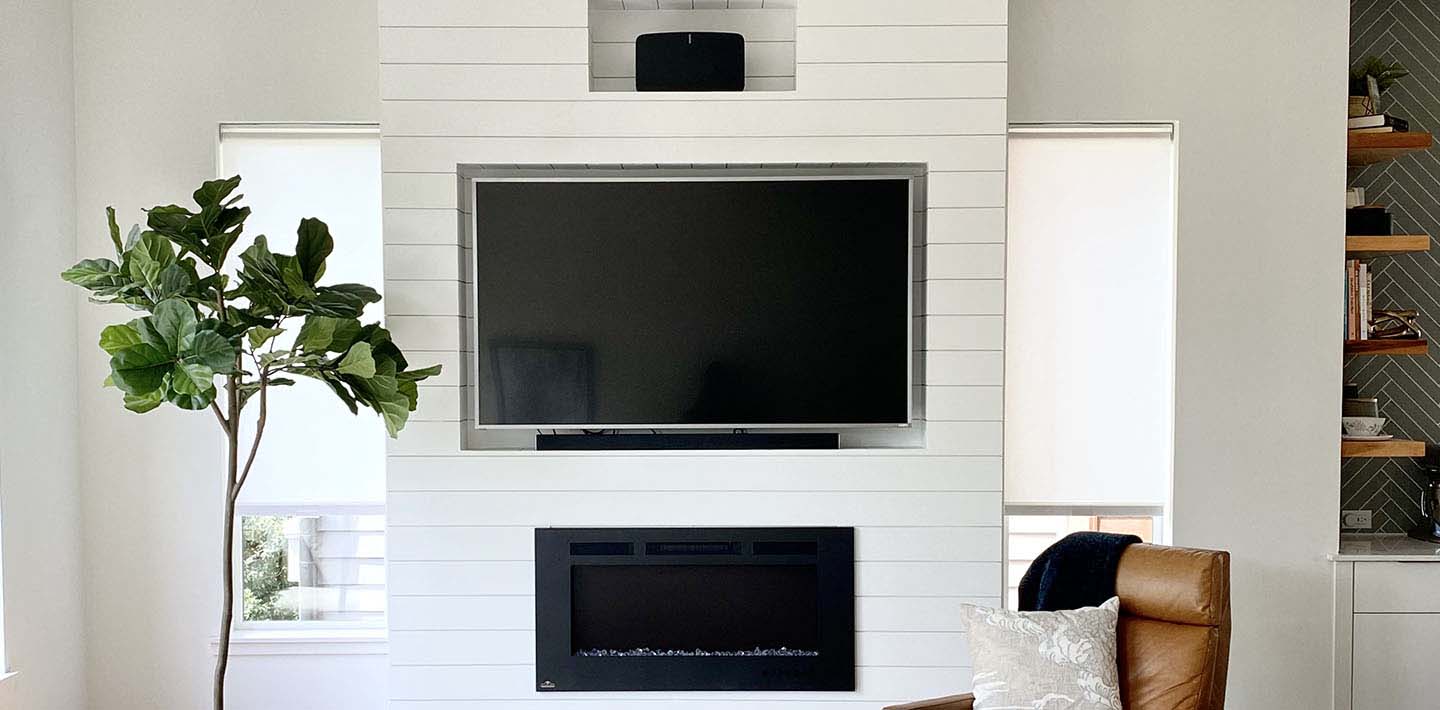
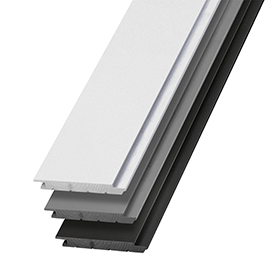
15 Ways To Use Shiplap In Your Home
As shiplap continues to pop up in homes across America, we’re seeing fun and creative installations. This wood paneling...
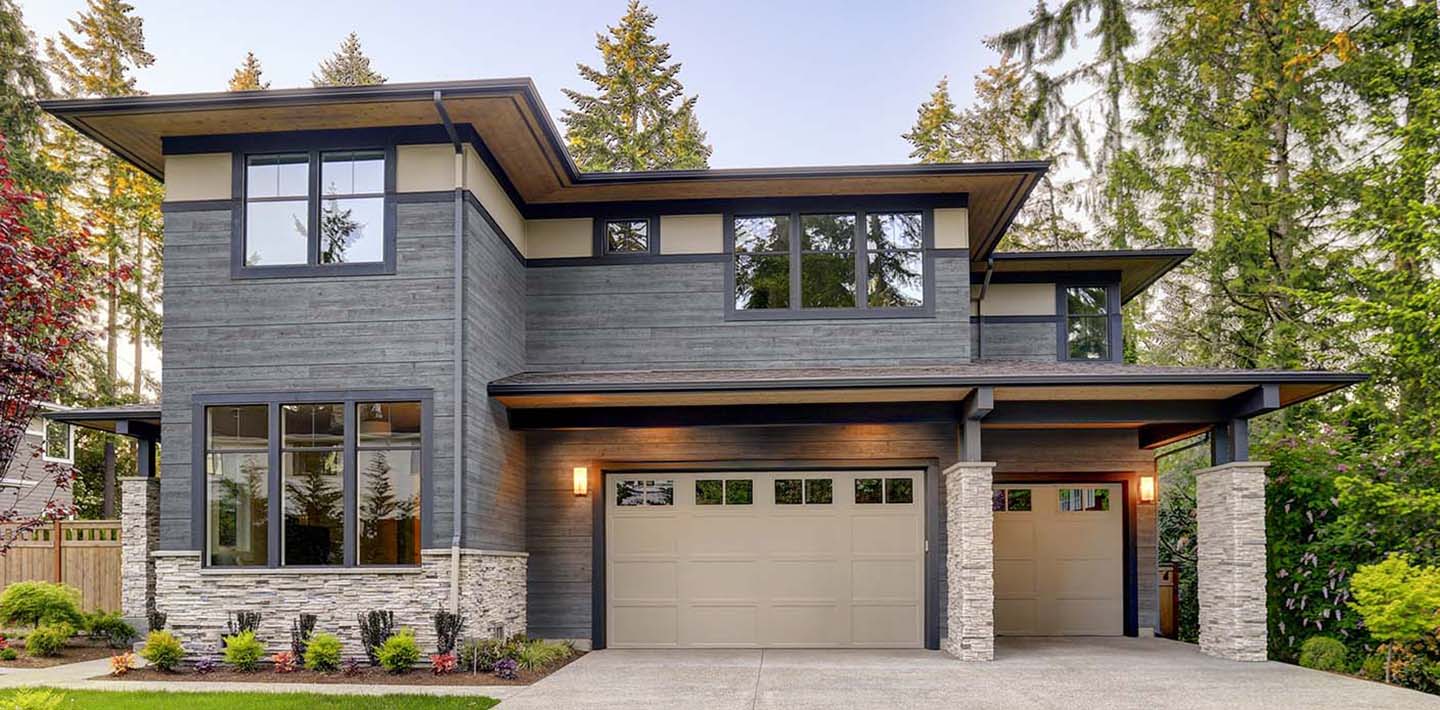
Mixed Material Trend Growing Nationwide
As homeowners are migrating, they are taking their material trends with them. More homes are embracing a mix of...
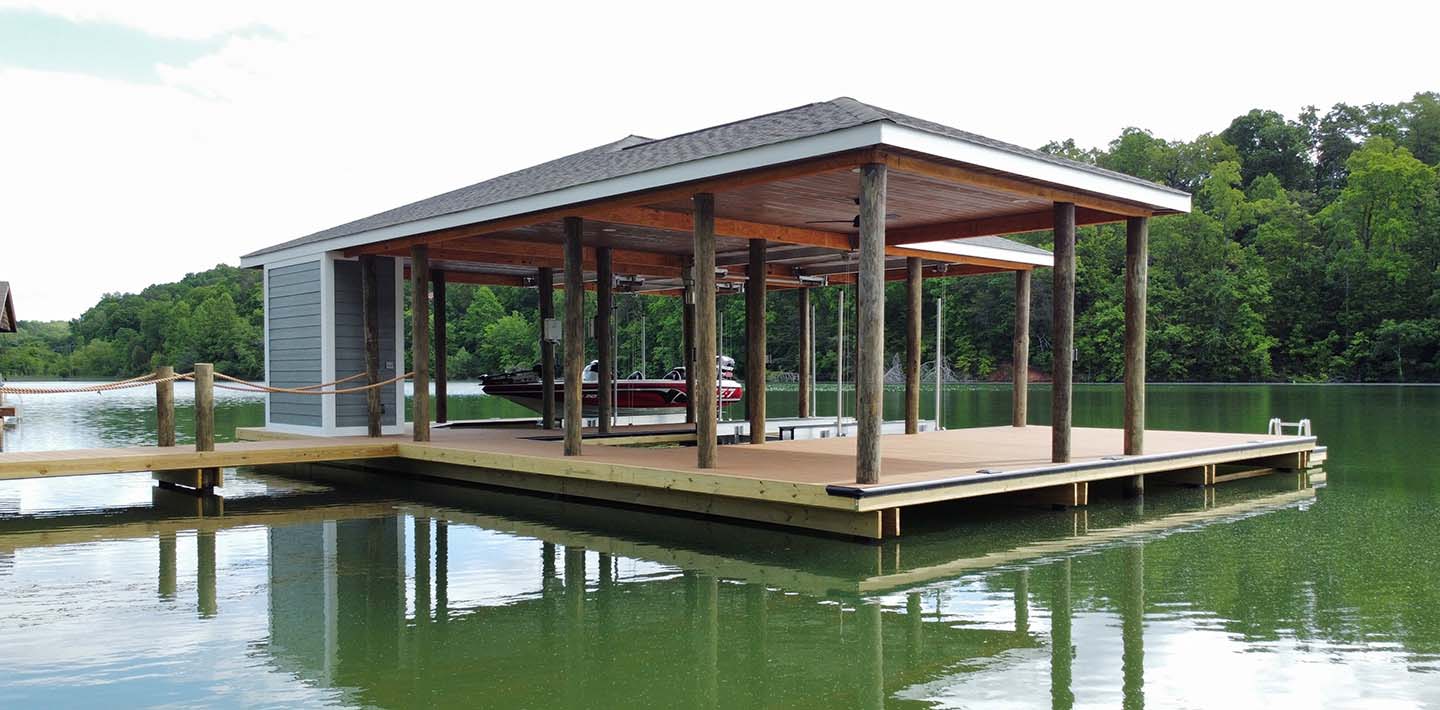
How UFP-Edge ‘really changed the game’ for this dock & deck builder
Unlike a lot of things these days, the price of lumber has actually come down over the past couple months – so much so...
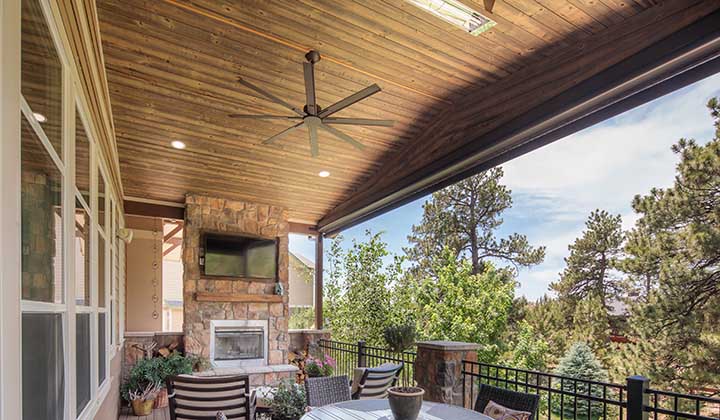

image alt text here
"I’m getting a better product and we don’t have to spend the labor to finish it. By using UFP-Edge Thermally Modified Wood, I’ve gained a day of time back.”
CEO of Dock & Deck
.png?h=680&iar=0&w=680&sc_lang=en&hash=79655ADC9BABEB4D30FBF4E39EED2EB3)