

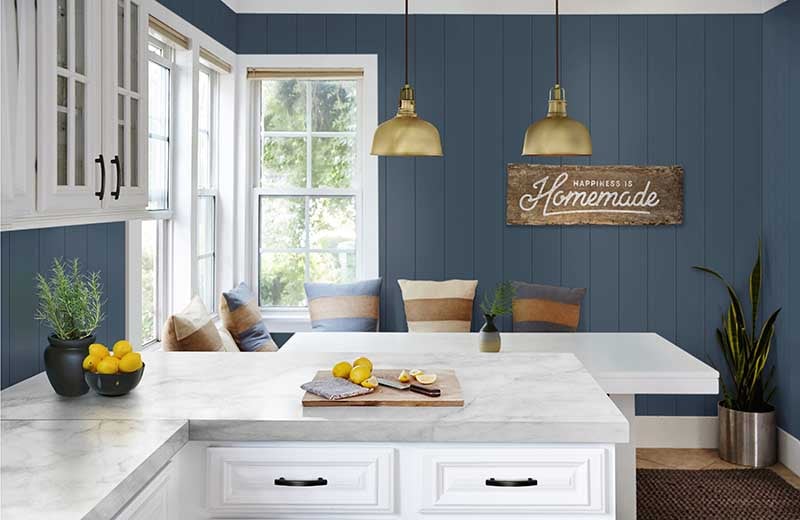
How to Install Timeless Nickel Gap Shiplap
So you decided to installTimeless nickel gap shiplap and want to make sure you get the job done right to ensure a flawless look. No need to fret. We...
Search
3 min read
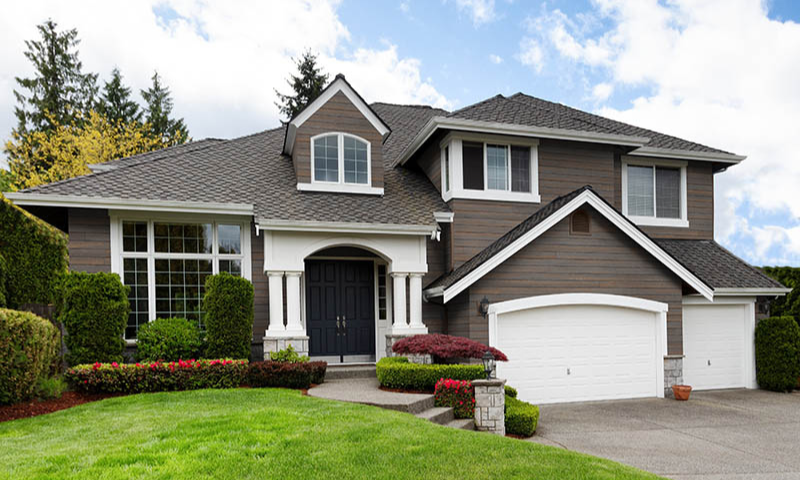
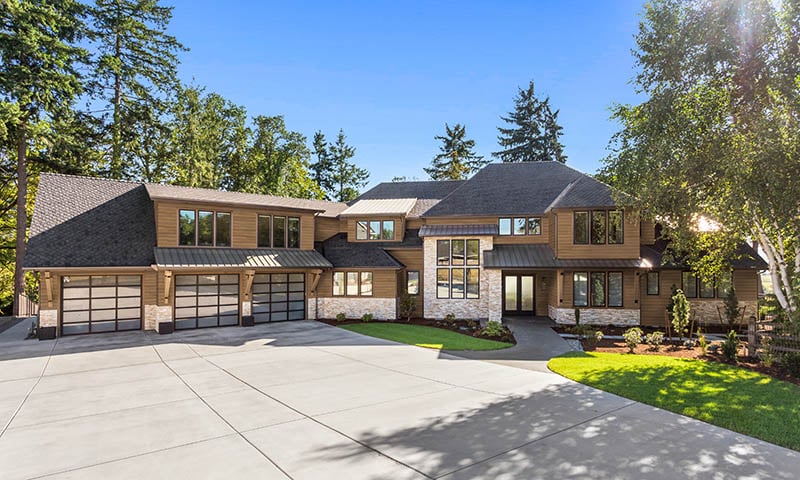
Edge’s Thermally Modified Wood Collection siding is one of the most durable, dimensionally stable wood products you can use on a project. But like all high-performance materials, it demands care and precision during installation. This guide walks you through the process for tongue and groove siding with the goal of long-lasting, beautiful results.
Let’s break it down from delivery to finish.
Before you install a single board, it’s important to understand that Thermally Modified Wood performs best when properly handled.
When your order arrives, make sure it’s stored at least 12 inches off the ground and protected from sunlight, moisture, and extreme temperatures. Ideally, keep it under cover. If that’s not an option, leave the unit wrap on and rewrap it after pulling boards.
Once you're ready to install, let the boards acclimate to your local climate for a minimum of 72 hours. Even thermally modified wood responds to humidity. This acclimation period helps prevent unwanted movement after install.
Tip: Check moisture content with a reader and avoid mixing boards with large moisture differences. It’ll save you from uneven gapping later on.

Thermally Modified Wood siding should never be applied over wet sheathing. Your structure needs to be completely dry and wrapped with a quality moisture-resistant barrier. Flash all openings including windows, doors and penetrations, and tape seams per code.
To keep the wall cavity healthy and your siding dry, we recommend installing it over a rainscreen. Furring strips (spaced no more than 24" apart) create a ½" drainage gap that allows air to circulate and water to escape.
For vertical siding installs, you'll add a second layer of furring strips installed horizontally across the first. Always install insect screening at the bottom to keep bugs out of the drainage gap.

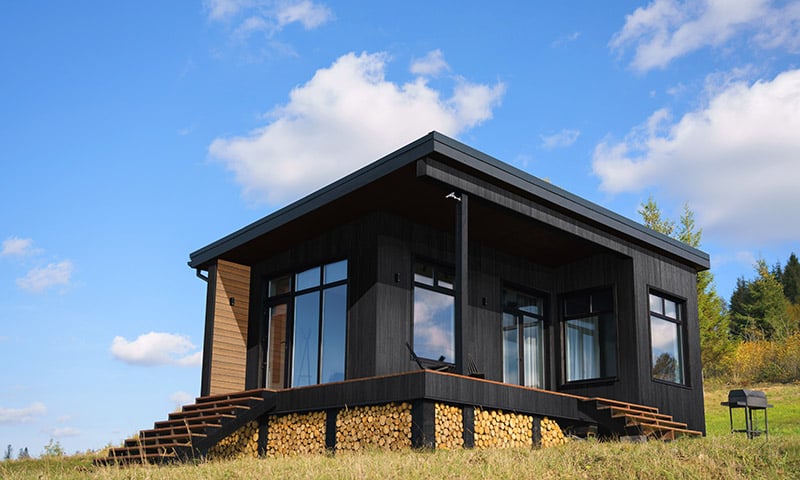
T&G siding can be installed horizontally or vertically, and the install method changes slightly based on that orientation.
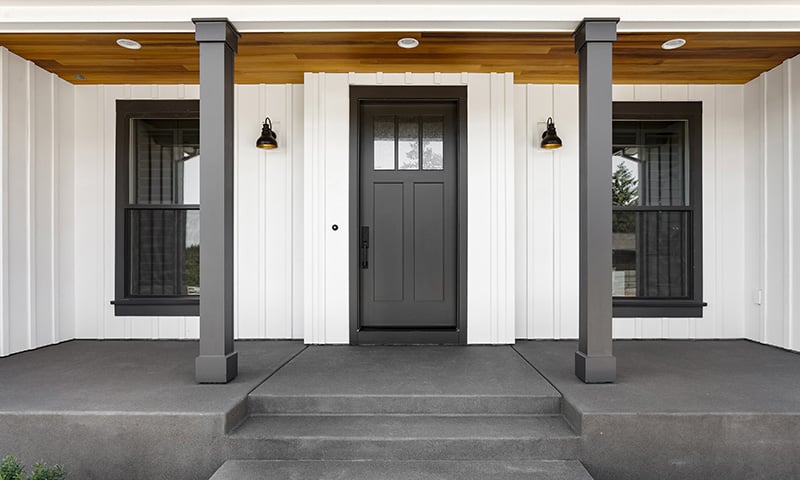
If you’re going horizontal, begin at the bottom of the wall and work your way up, with the groove edge facing down to shed water properly. If you're going vertical, start at one corner and move across the wall with the groove edge facing the adjacent wall. A level or plumb line helps keep that first board straight—don't skip this step.
Thermally Modified Wood is more brittle than untreated wood, so predrilling is a must, especially at the board ends.
We recommend:
You have two options for fastening:
Whichever you choose, always fasten from one end to the other—never from both ends toward the middle, which can create tension in the boards.
.jpg?width=700&height=467&name=TMW-Colorado-49%20(1).jpg)
Proper clearances help prevent water damage and premature wear:
Anytime you make a cut, whether ripping a board, trimming an end, or adjusting for a window, you’re exposing the inner grain.
Make it a rule: every cut gets sealed.
Use a premium exterior-grade finish to protect against moisture intrusion and UV degradation.

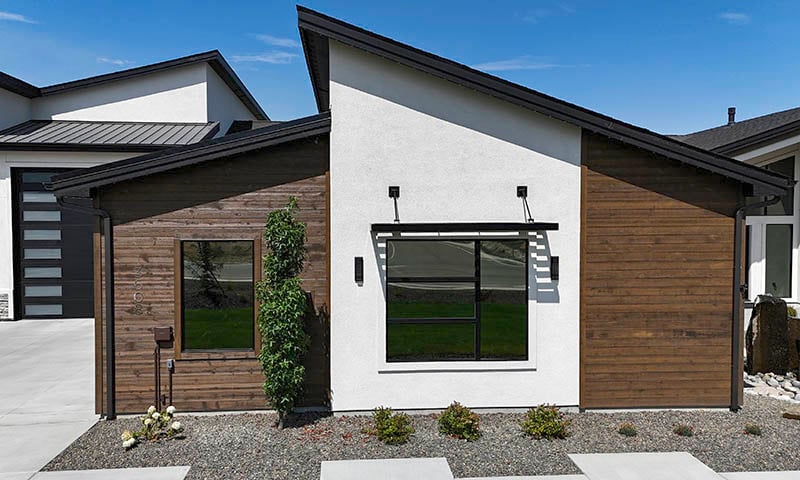
If you're working with our Natural Thermally Modified Wood, you can leave it unfinished and allow it to gracefully silver over time. But if you want to preserve the original tone, apply a UV-resistant tinted clear coat before the first winter. Reapply every 2–3 years to keep it looking fresh.
For prefinished boards, no additional finish is needed right away. But after 7–10 years (or sooner in high-UV regions) you can refresh the look with a premium water-based stain and a back-brushing technique.
Thermally Modified Wood is a premium cladding solution and it deserves premium craftsmanship. When installed properly, it delivers unmatched natural beauty and performance, year after year.
If you’re looking for additional installation insights or support on your next project, connect with our team or download the full installation guide below.
Download the TMW Installation and Maintenance Guide
So you decided to installTimeless nickel gap shiplap and want to make sure you get the job done right to ensure a flawless look. No need to fret. We...
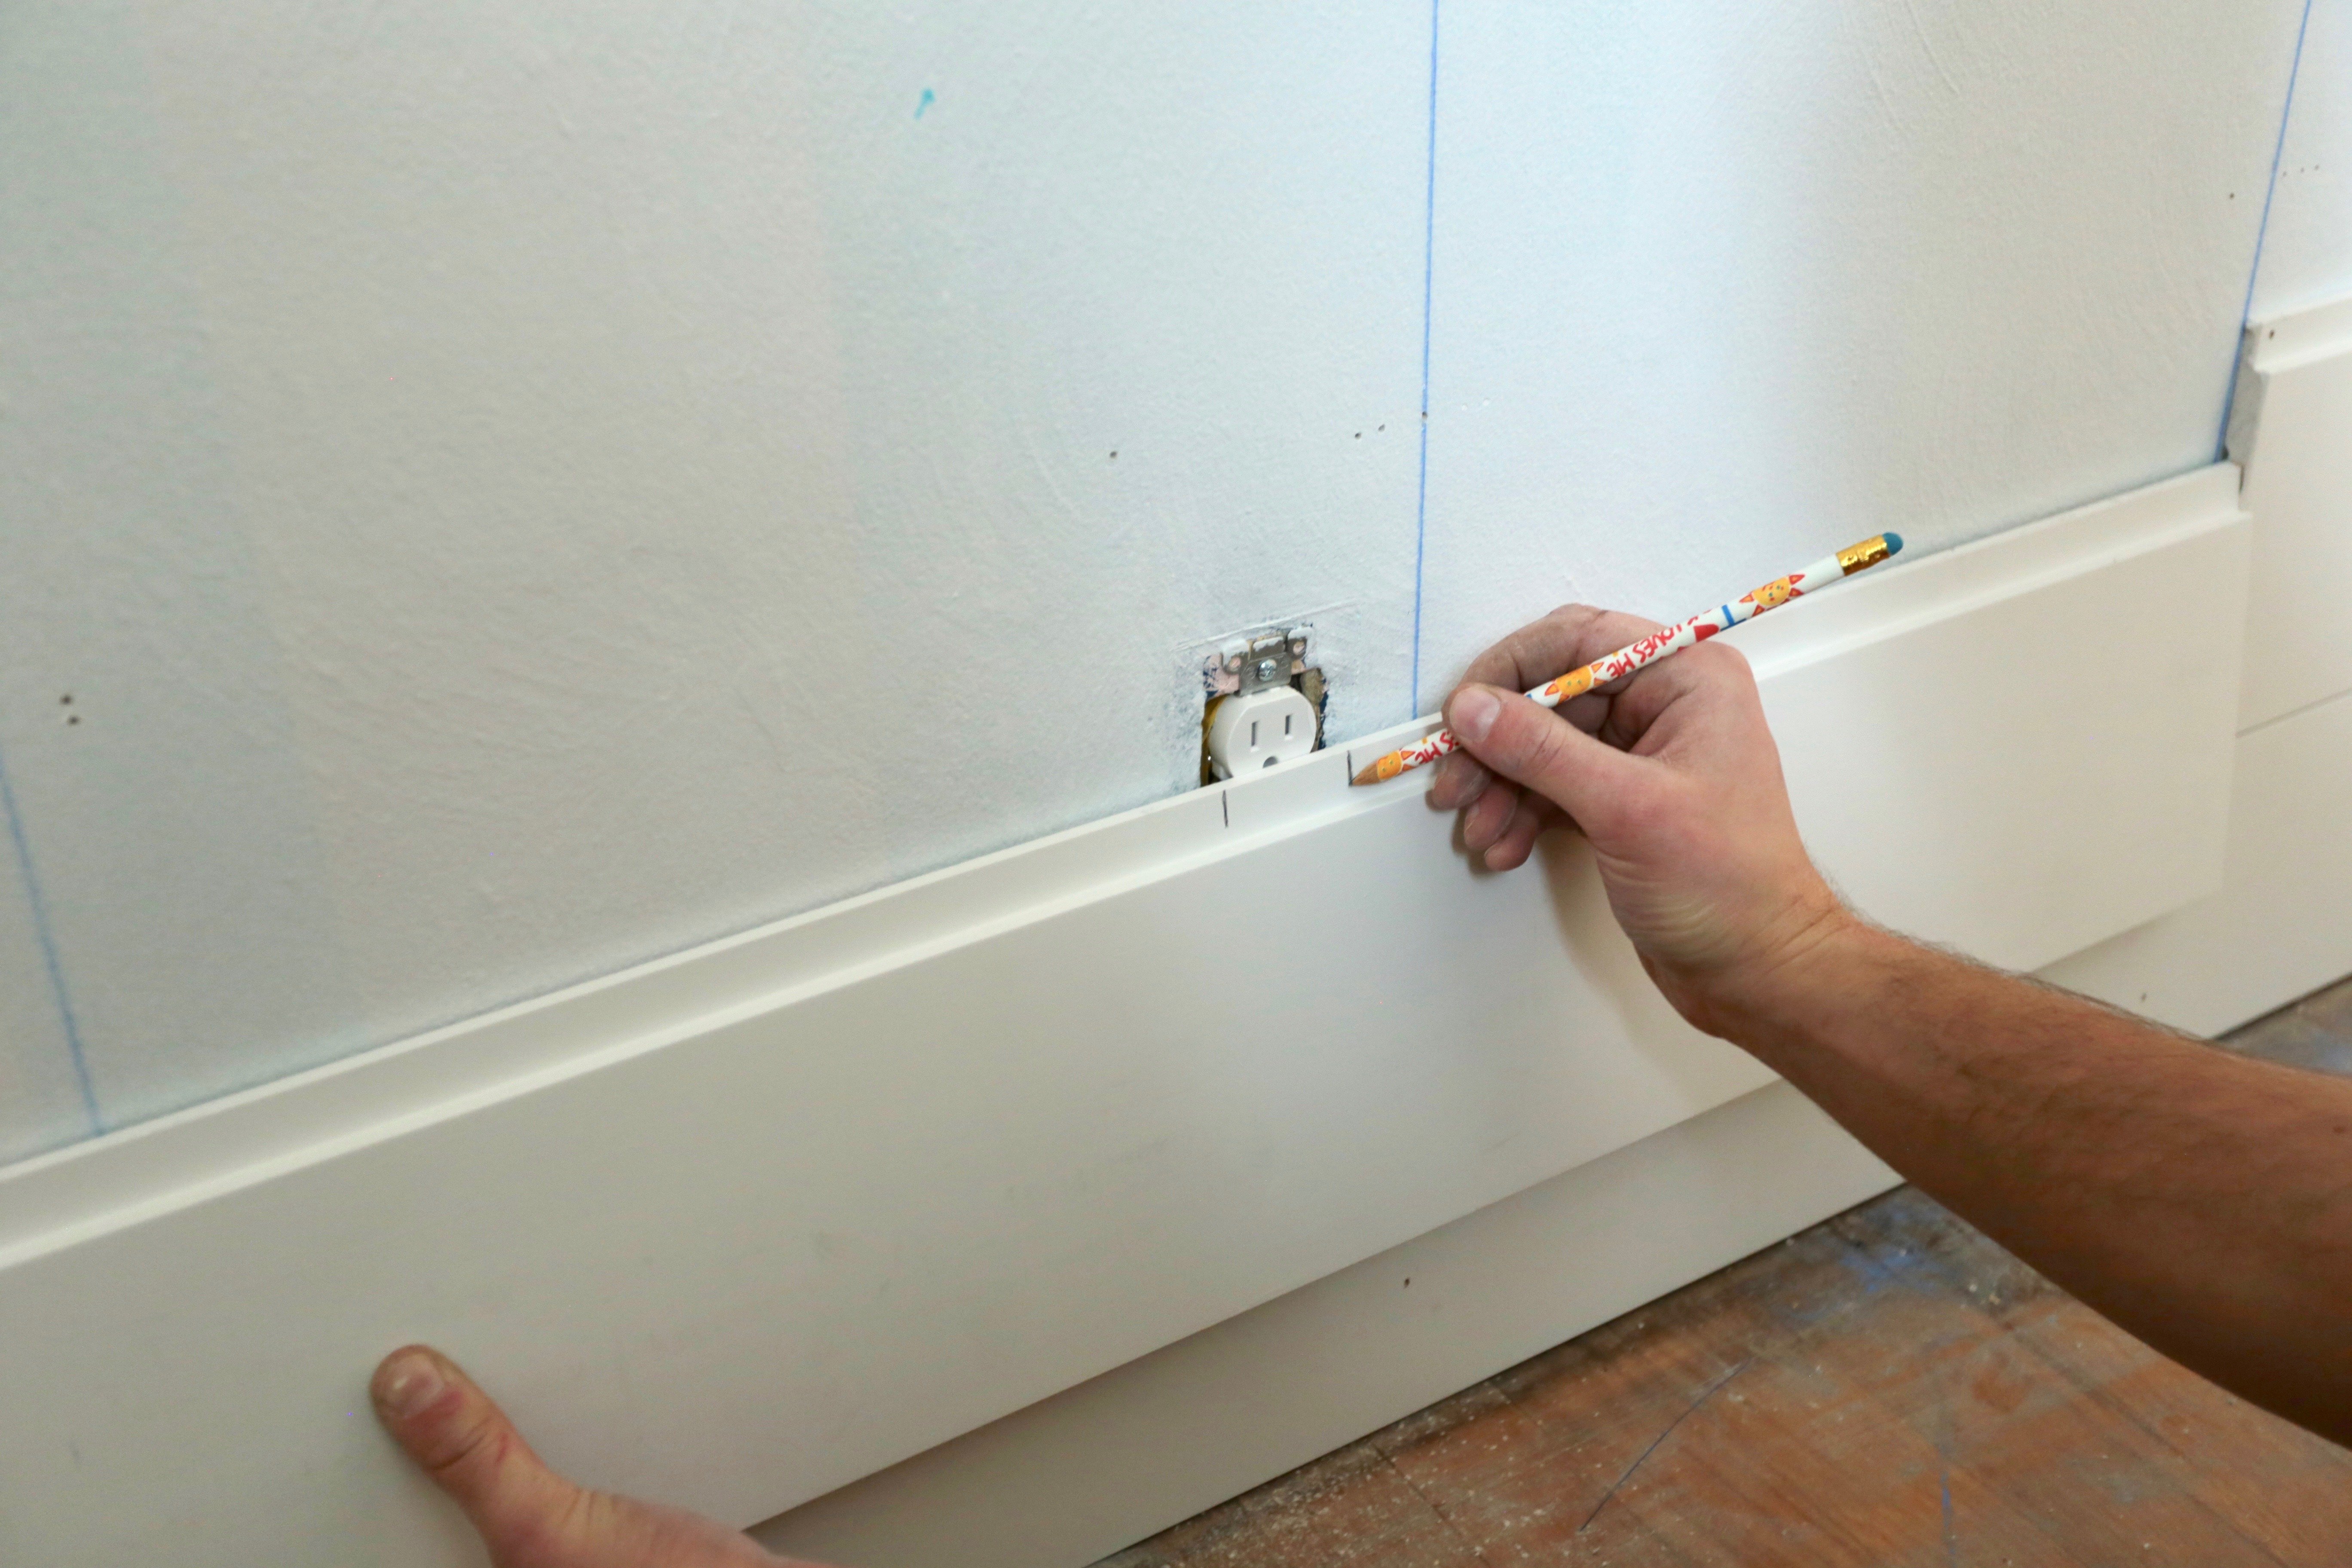
Most walls will have outlets or switches you will need to install your shiplap around. They can be a hassle if you don’t know how to deal with them....
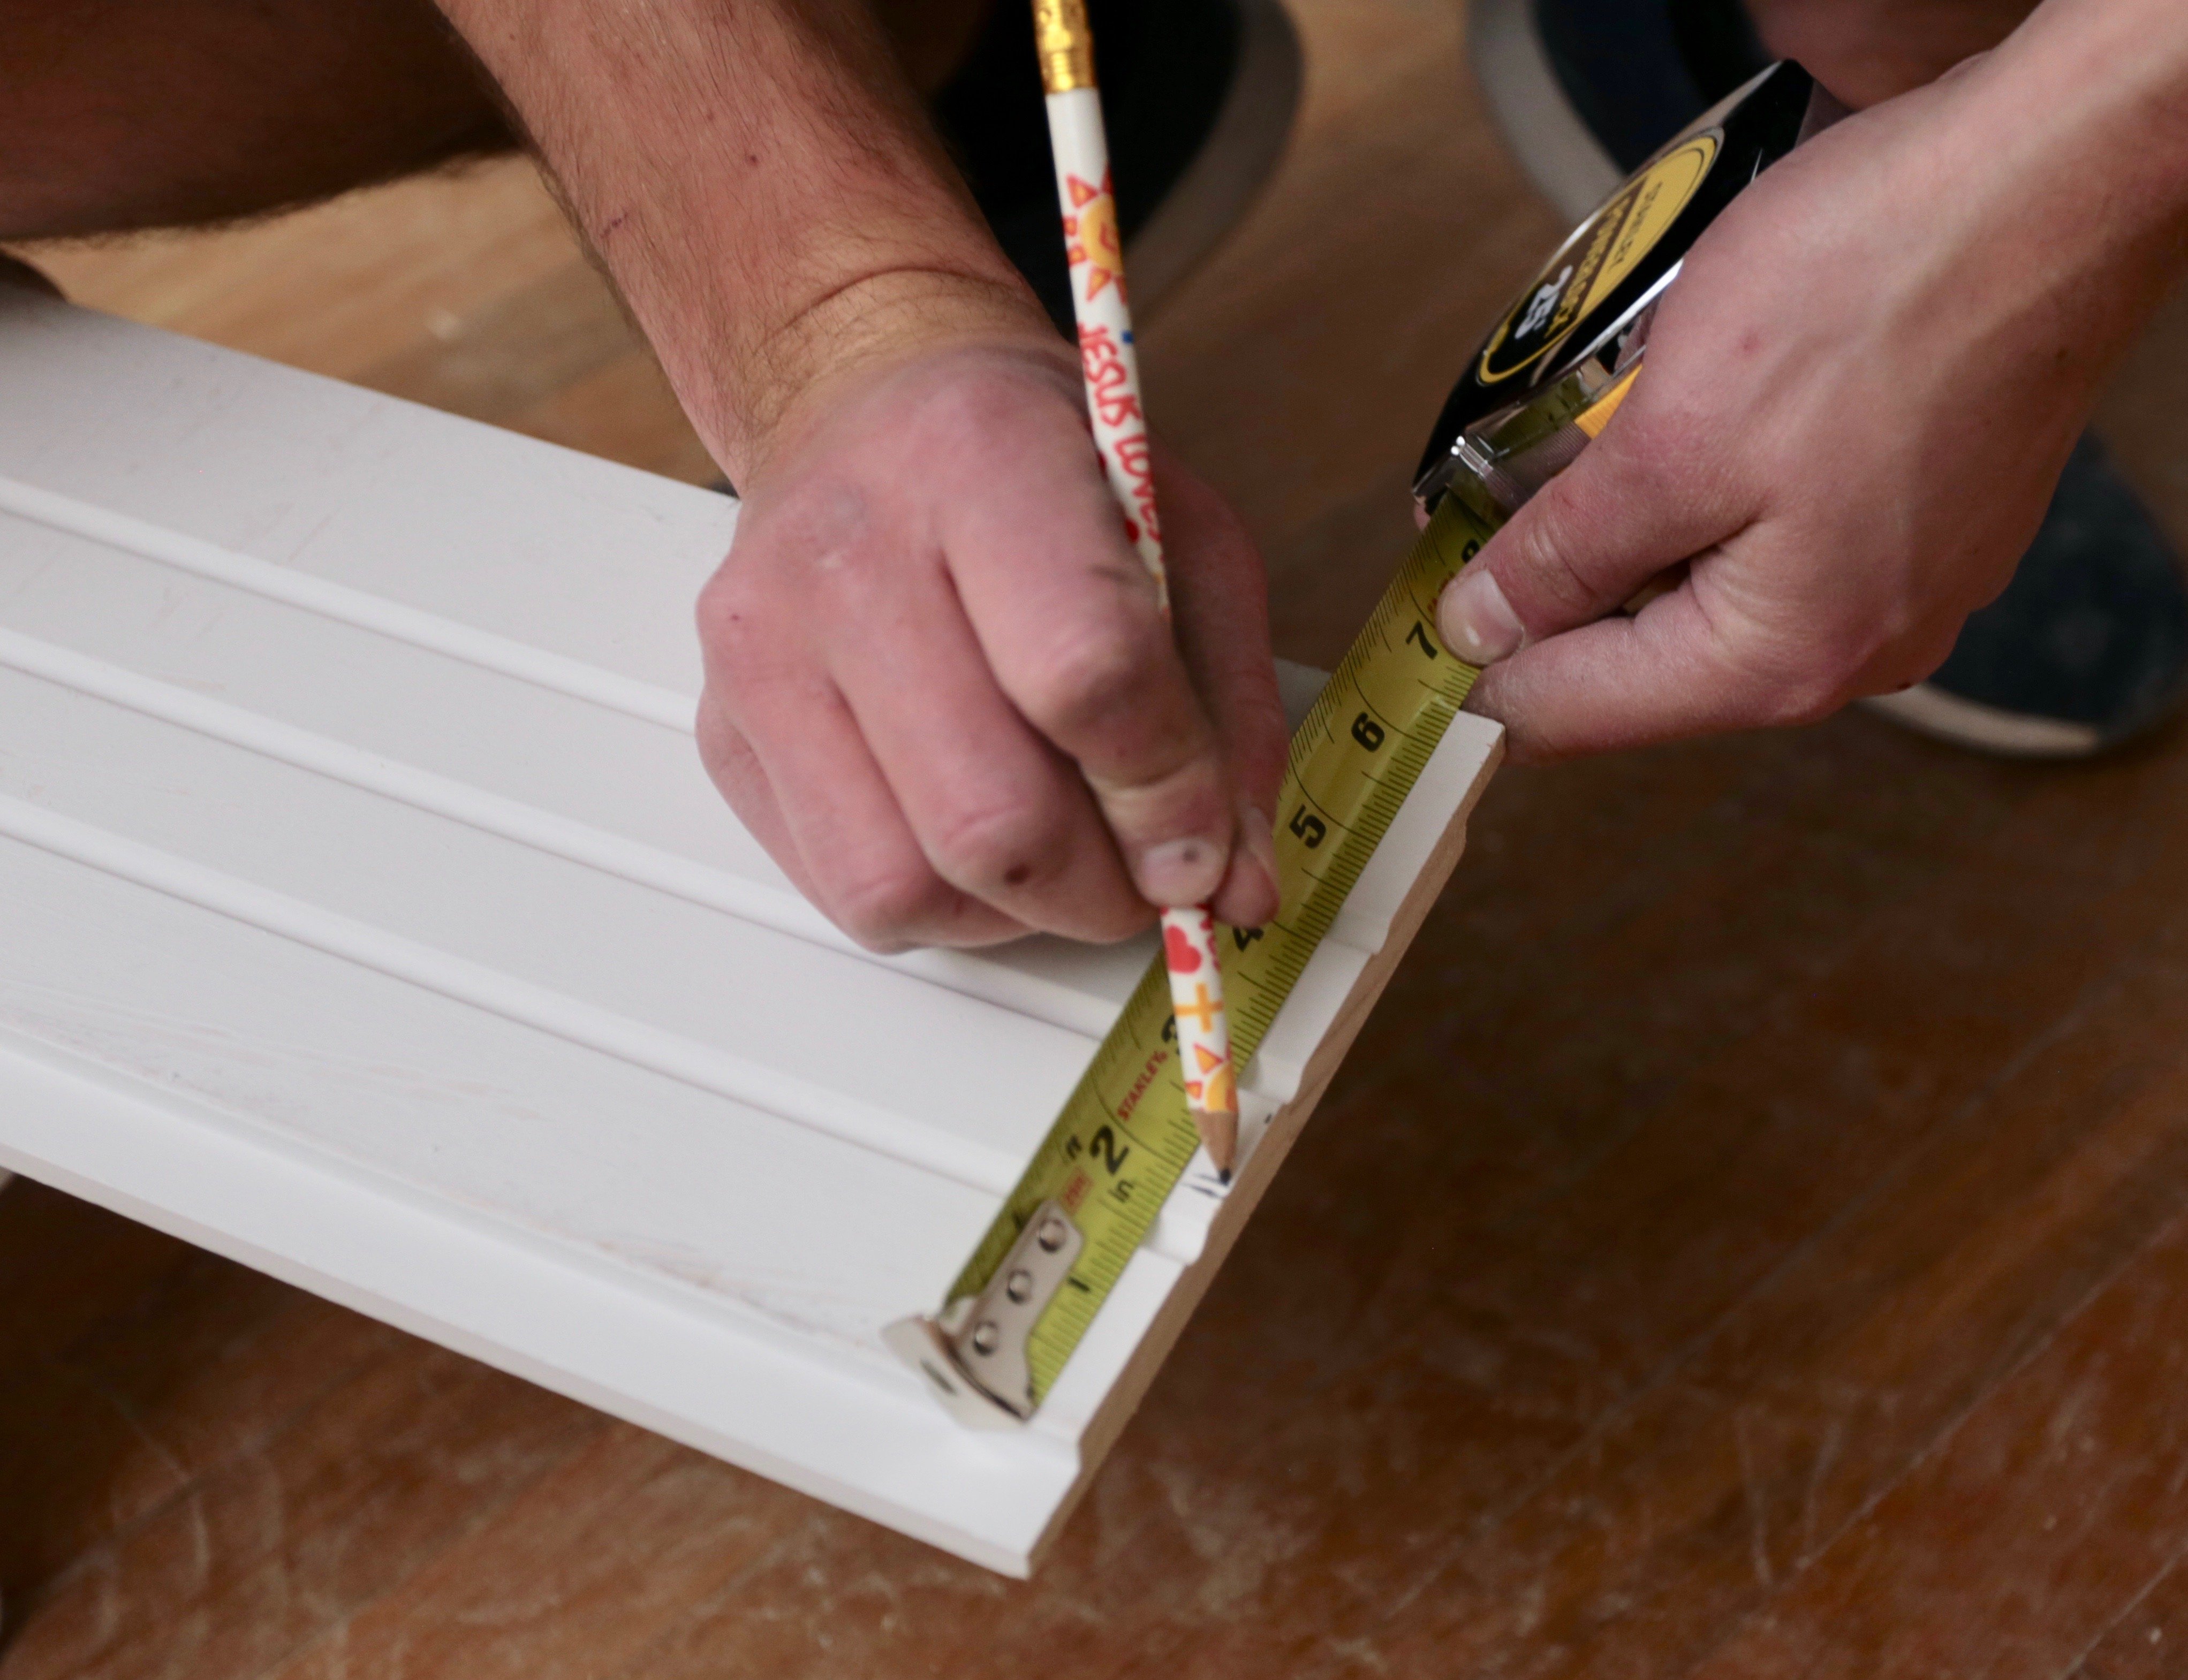
Measuring your wall is an important first step prior to installation. Proper wall measurements will allow you to calculate the amount of shiplap...
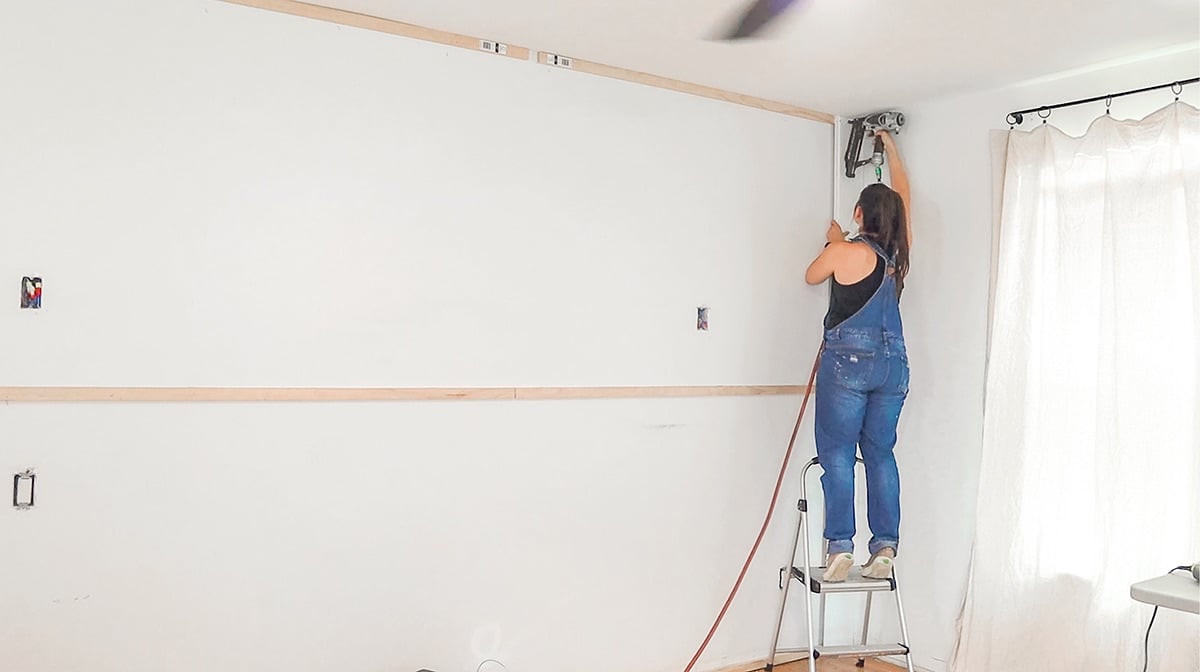
We recently teamed up with Shelby Coleman and Michelle Wallace from Farmhouse Living to transform a former garage into a modern bedroom. This...