


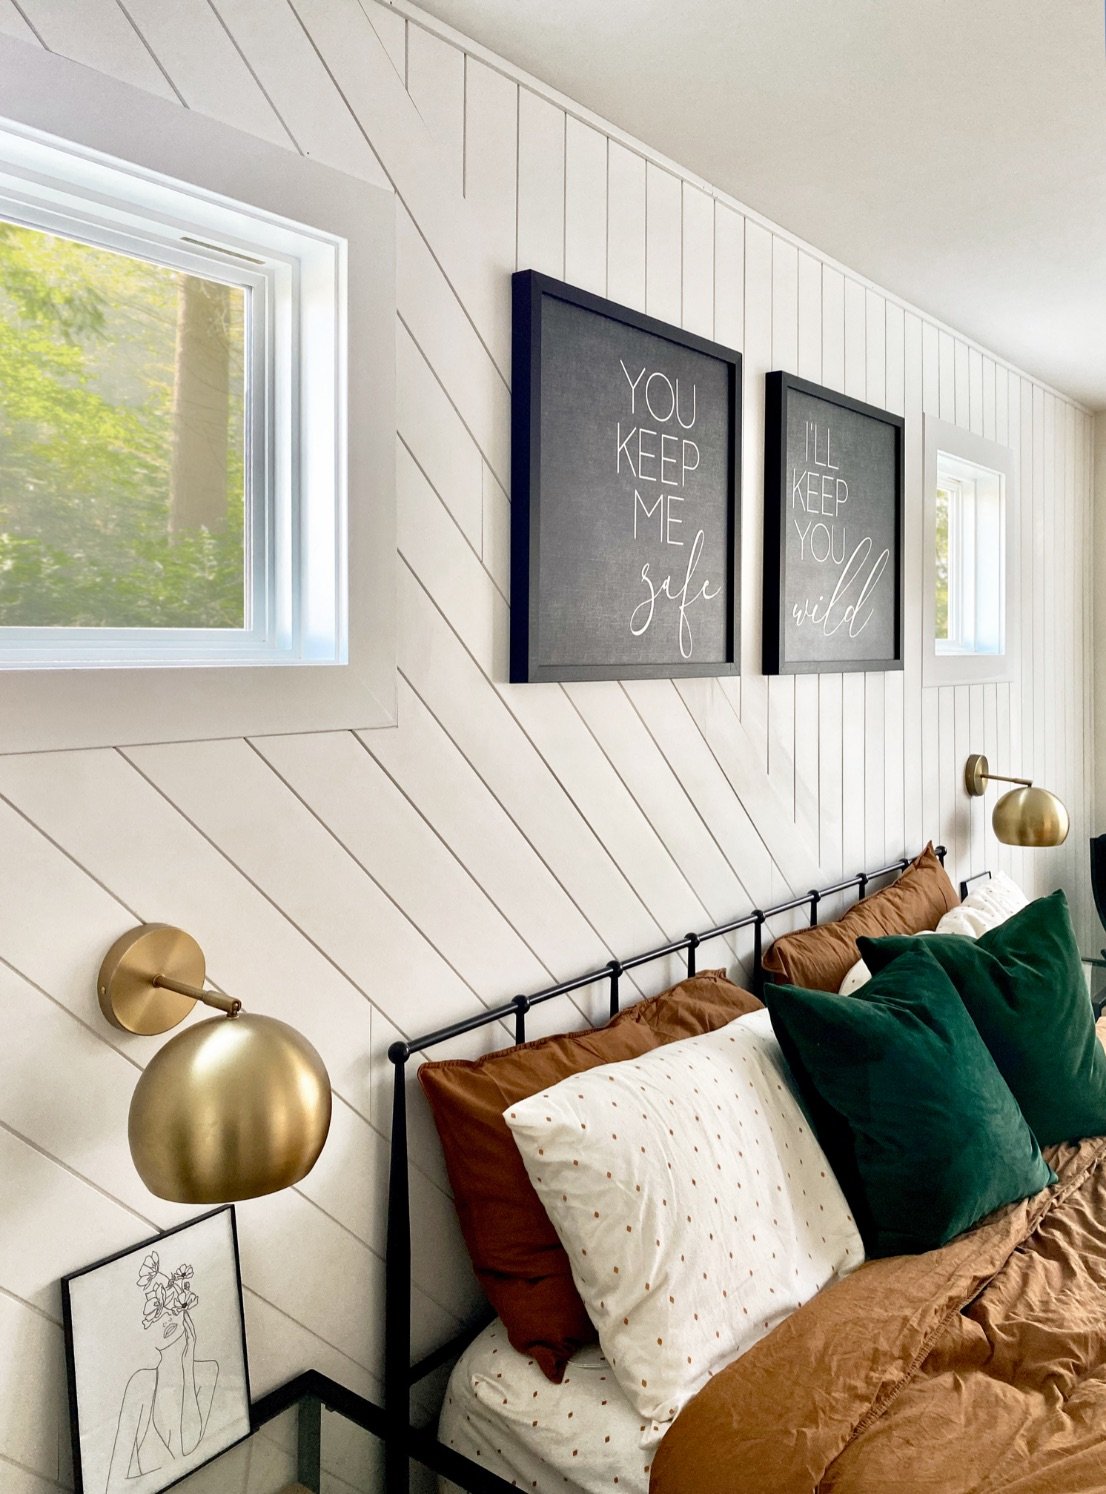
Make a Statement with Unique Shiplap Wall Designs
We’ve all seen shiplap in a horizontal or vertical application, but it is not limited to only these types of orientations. Shiplap can be installed...
Search
2 min read

Building pros agree that staggering seams provides a better looking aesthetic. Read below to learn how to properly stagger shiplap for all of your projects.
Staggering Shiplap Creates A Balanced Aesthetic
When installing shiplap on a wall or ceiling that exceeds the length of your shiplap, you’ll need to butt boards together. Stagger the shiplap boards so that the end joints are spread out along the wall or ceiling randomly. If you stack seams on top of each other, you’ll create an eyesore that draws your eye to the dark lines of the jointed ends.
See the difference between these two installations:

These boards pictured above were not well staggered, making the seams more obvious being on top of each other.

These Timeless Farmhouse White boards are correctly staggered, creating a much more balanced accent wall.
Staggering your boards will also add physical strength to your project. If you put all of the end joints in the same spot, you’ll create a weak seam in the wall or ceiling. Staggering the boards spreads out the weak points and will mitigate warping or cupping.
You’ll want to plan out your configuration of boards before installation. Start by calculating how many rows of boards you’ll need. Let’s say your wall is 12 feet long and 8 feet high, and you are installing 1x6x8 Timeless nickel gap shiplap. To calculate your rows, you’ll divide the length of the 8-foot board (96 inches) by the exposed face of the board (4.625 inches). This will give you 20 rows of boards plus a remaining 3.5 inches for a 1x4 trim board.
Once you’ve figured out how many rows you need, you can determine how you want to stagger your boards. Remember that you will be nailing your end joints into the wall studs, which are typically 16 inches apart (sometimes 24 inches in older homes). It’s important that you nail board ends into studs so that boards don’t bow outward and make the seams more visible. Your staggered boards may repeat a pattern like this:

Notice the varying lengths of shiplap on this 12 foot long wall and how the seams are staggered.
Ideally, you’ll want as few seams and as little waste as possible. Depending on your board and wall or ceiling length, try to minimize the number of boards you use per row and use the extra cut boards in other rows. If possible, try to use the cut-off piece from one row to start the next row.
For more information on shiplap installation, check out our Timeless Nickel Gap Shiplap product page.
We’ve all seen shiplap in a horizontal or vertical application, but it is not limited to only these types of orientations. Shiplap can be installed...
So you decided to installTimeless nickel gap shiplap and want to make sure you get the job done right to ensure a flawless look. No need to fret. We...
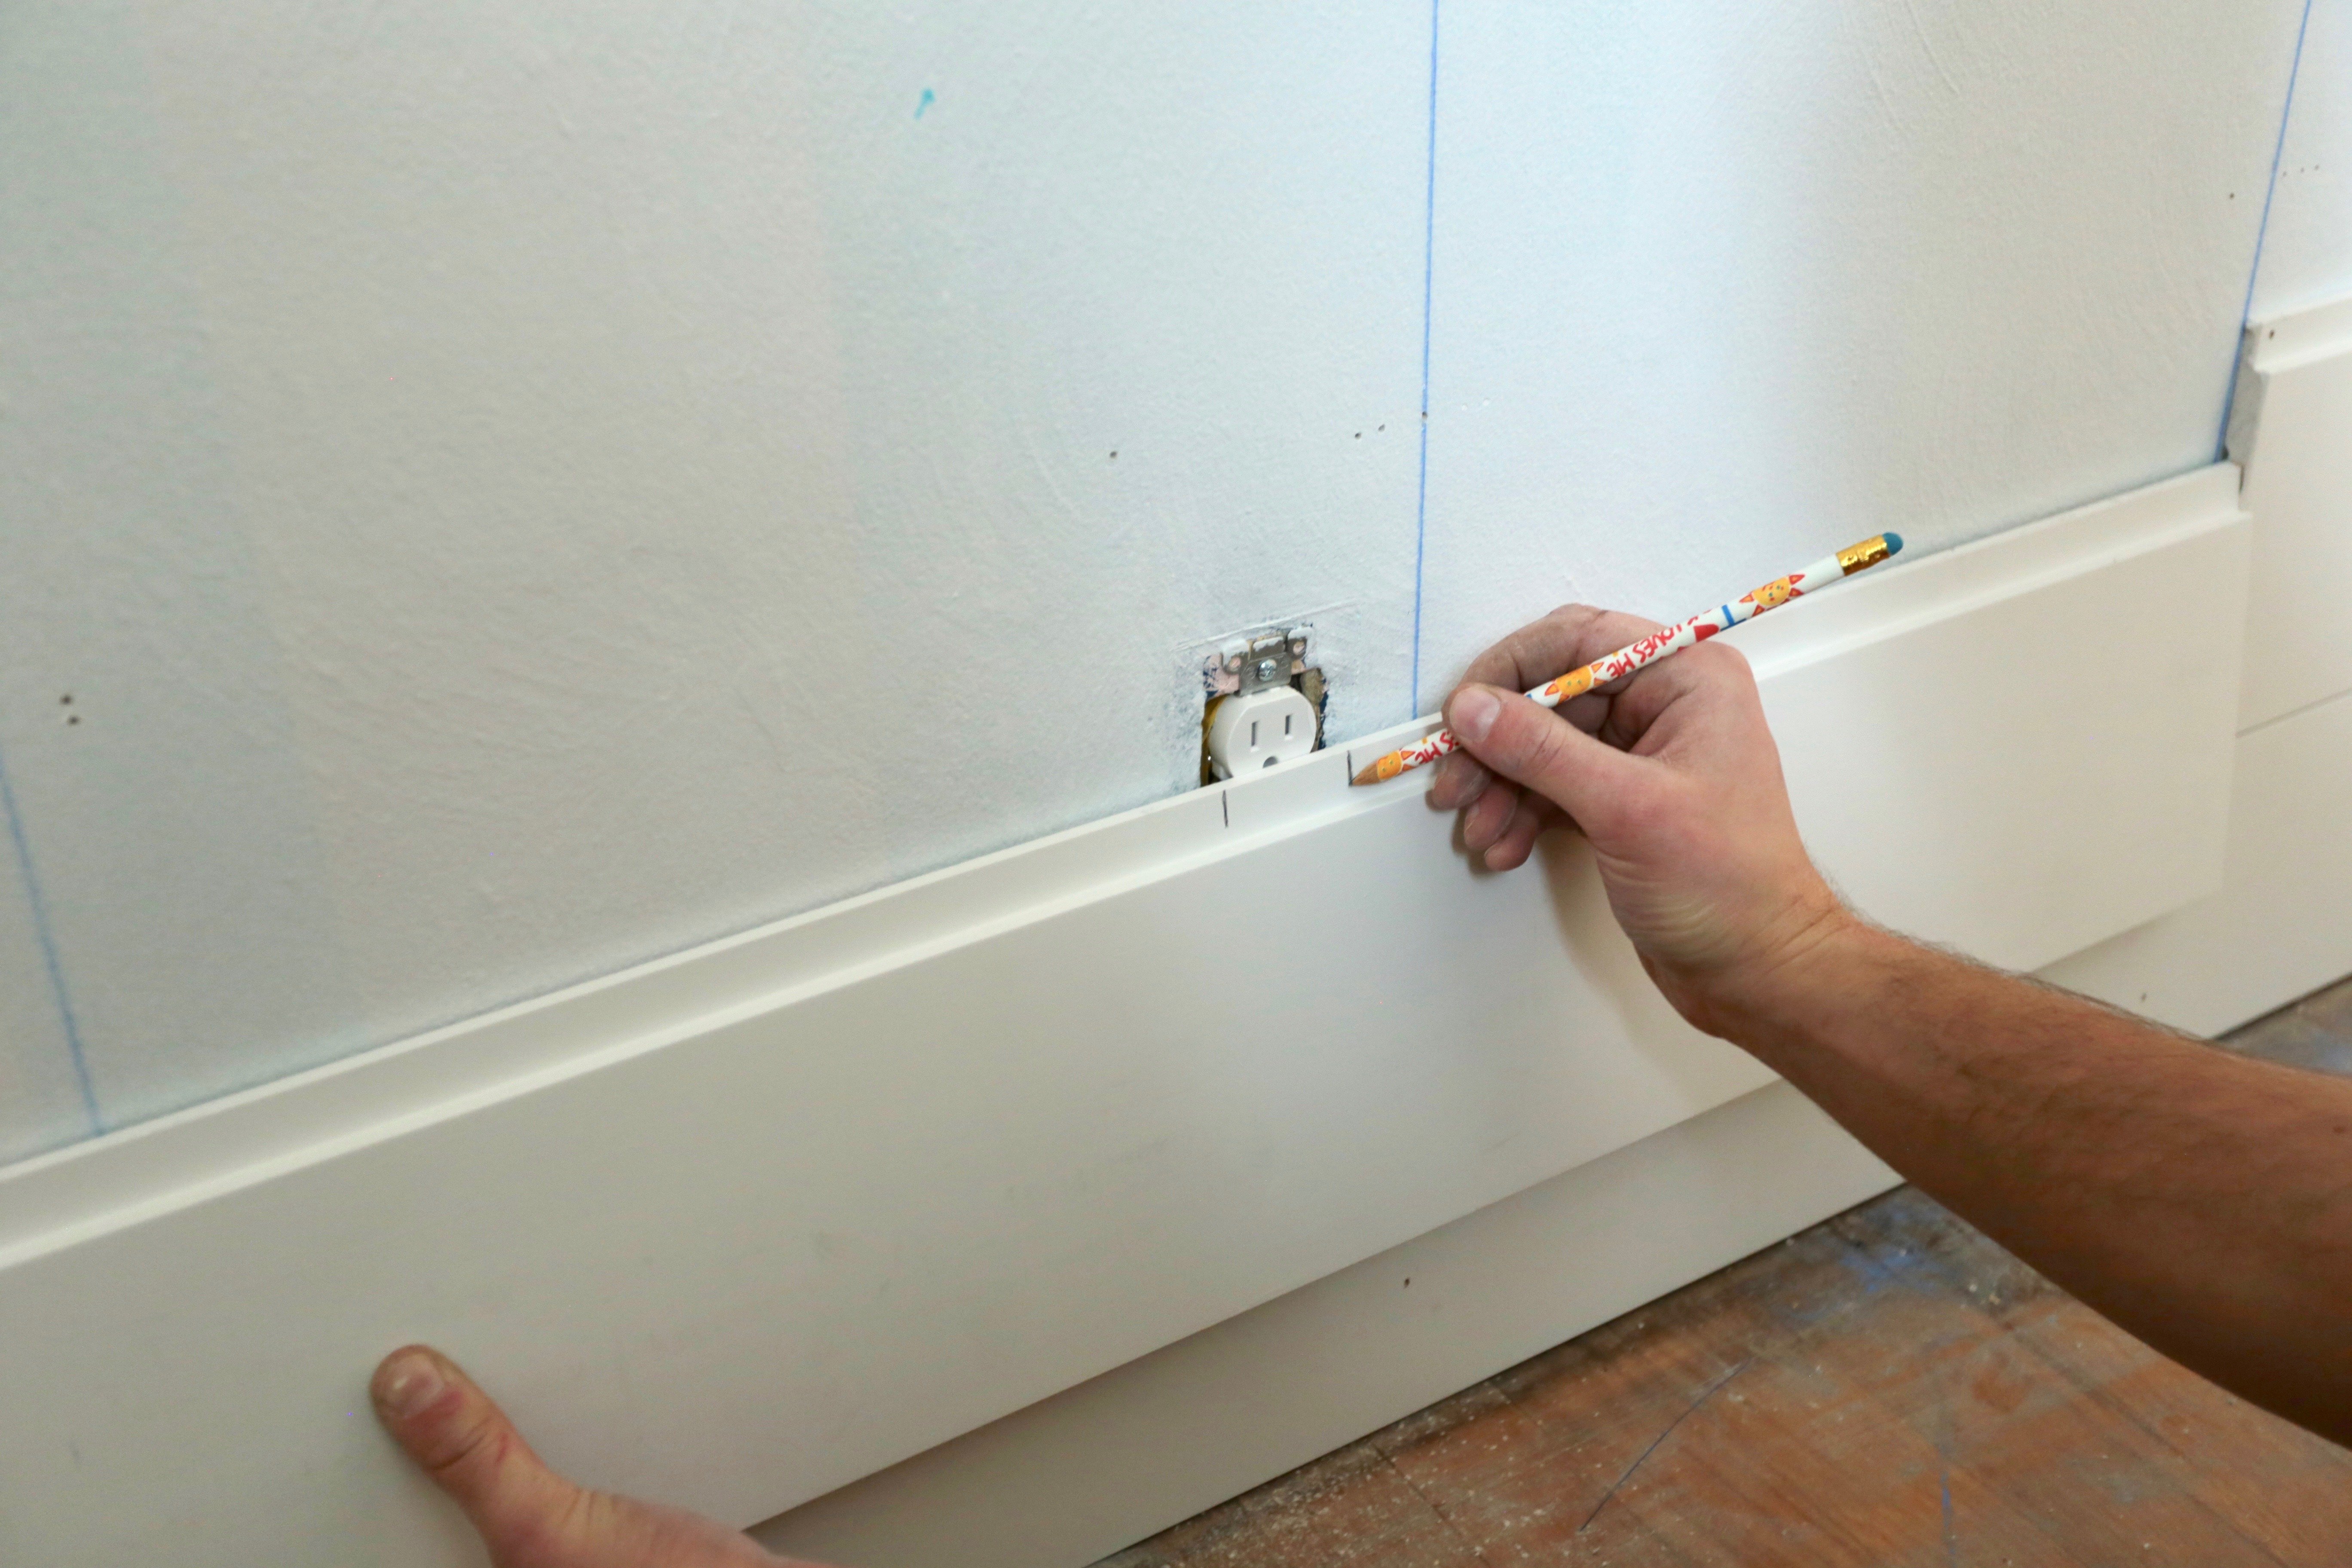
Most walls will have outlets or switches you will need to install your shiplap around. They can be a hassle if you don’t know how to deal with them....

Marga Melo picked up her first power tools in May 2020 and started her Instagram account@wonderwoodmomto showcase her projects. She has been...