How to Install Shiplap Around Outlets and Switches
Posted 7/15/2020 by Amanda Hall
Most walls will have outlets or switches you will need to install your shiplap around. They can be a hassle if you don’t know how to deal with them. Follow these simple steps in order to best fit your shiplap around your receptacles.
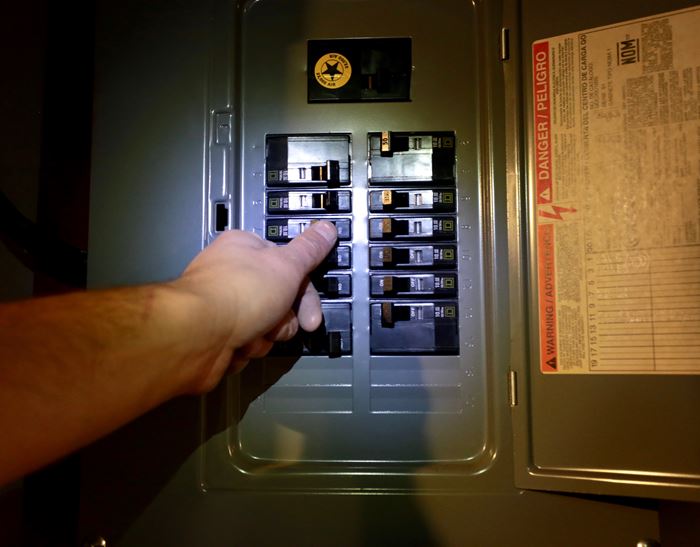
1. Turn off the power.
The first, and most important step is to find the breaker for that outlet or switch, and turn it off. Don’t proceed until you’re sure the outlet or switch is not live.
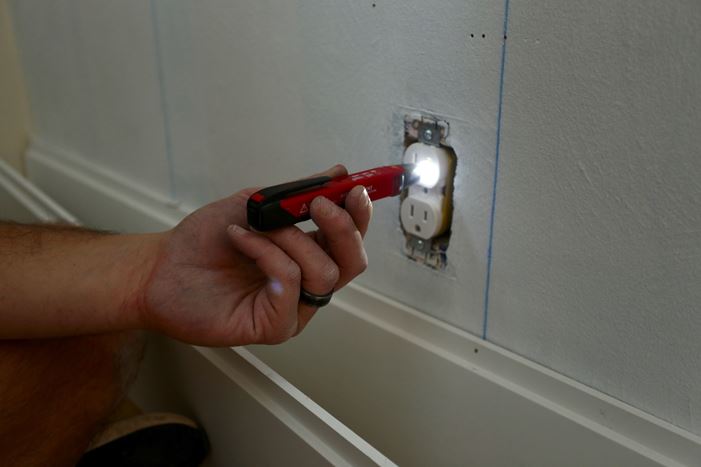
Prior to working on the receptacle, use an outlet tester to verify there is no voltage present.
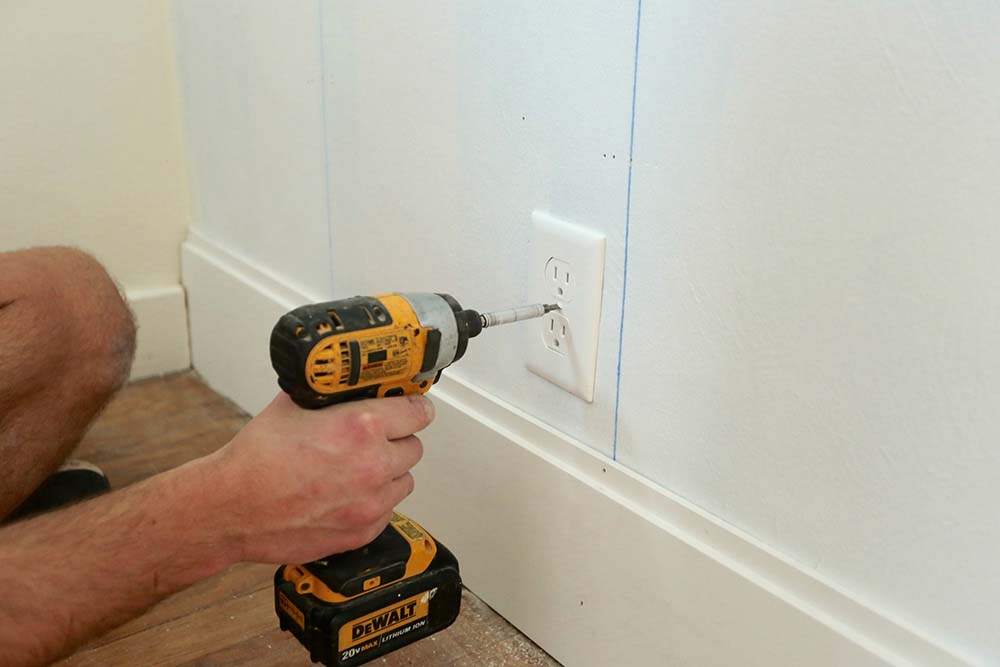
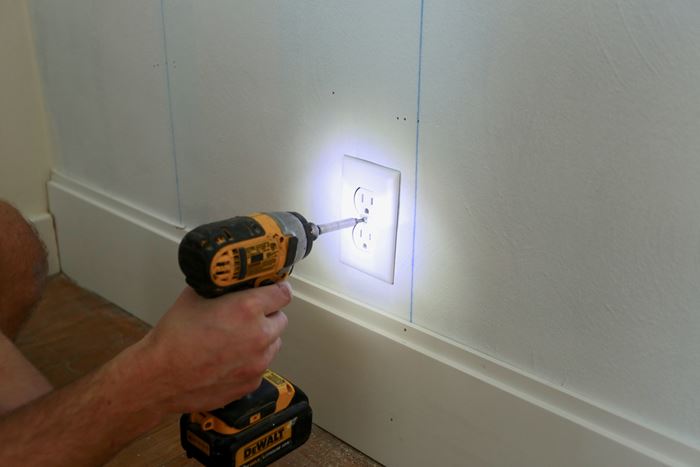
2. Remove outlet face plates
Use a screwdriver to unscrew all your face plates on your outlets along the wall.
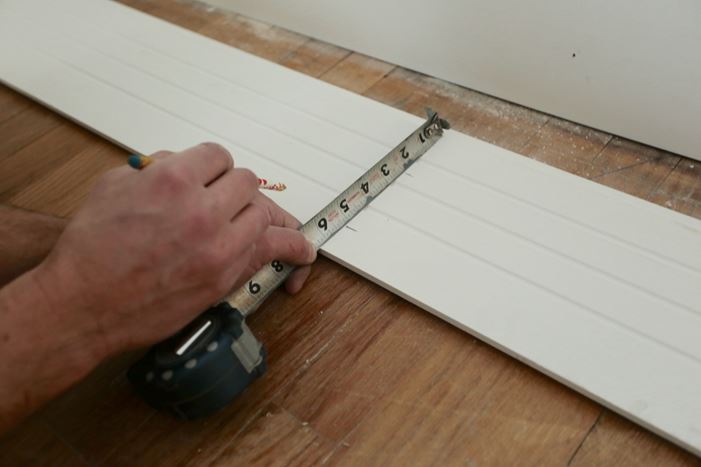
3. Measure outlet
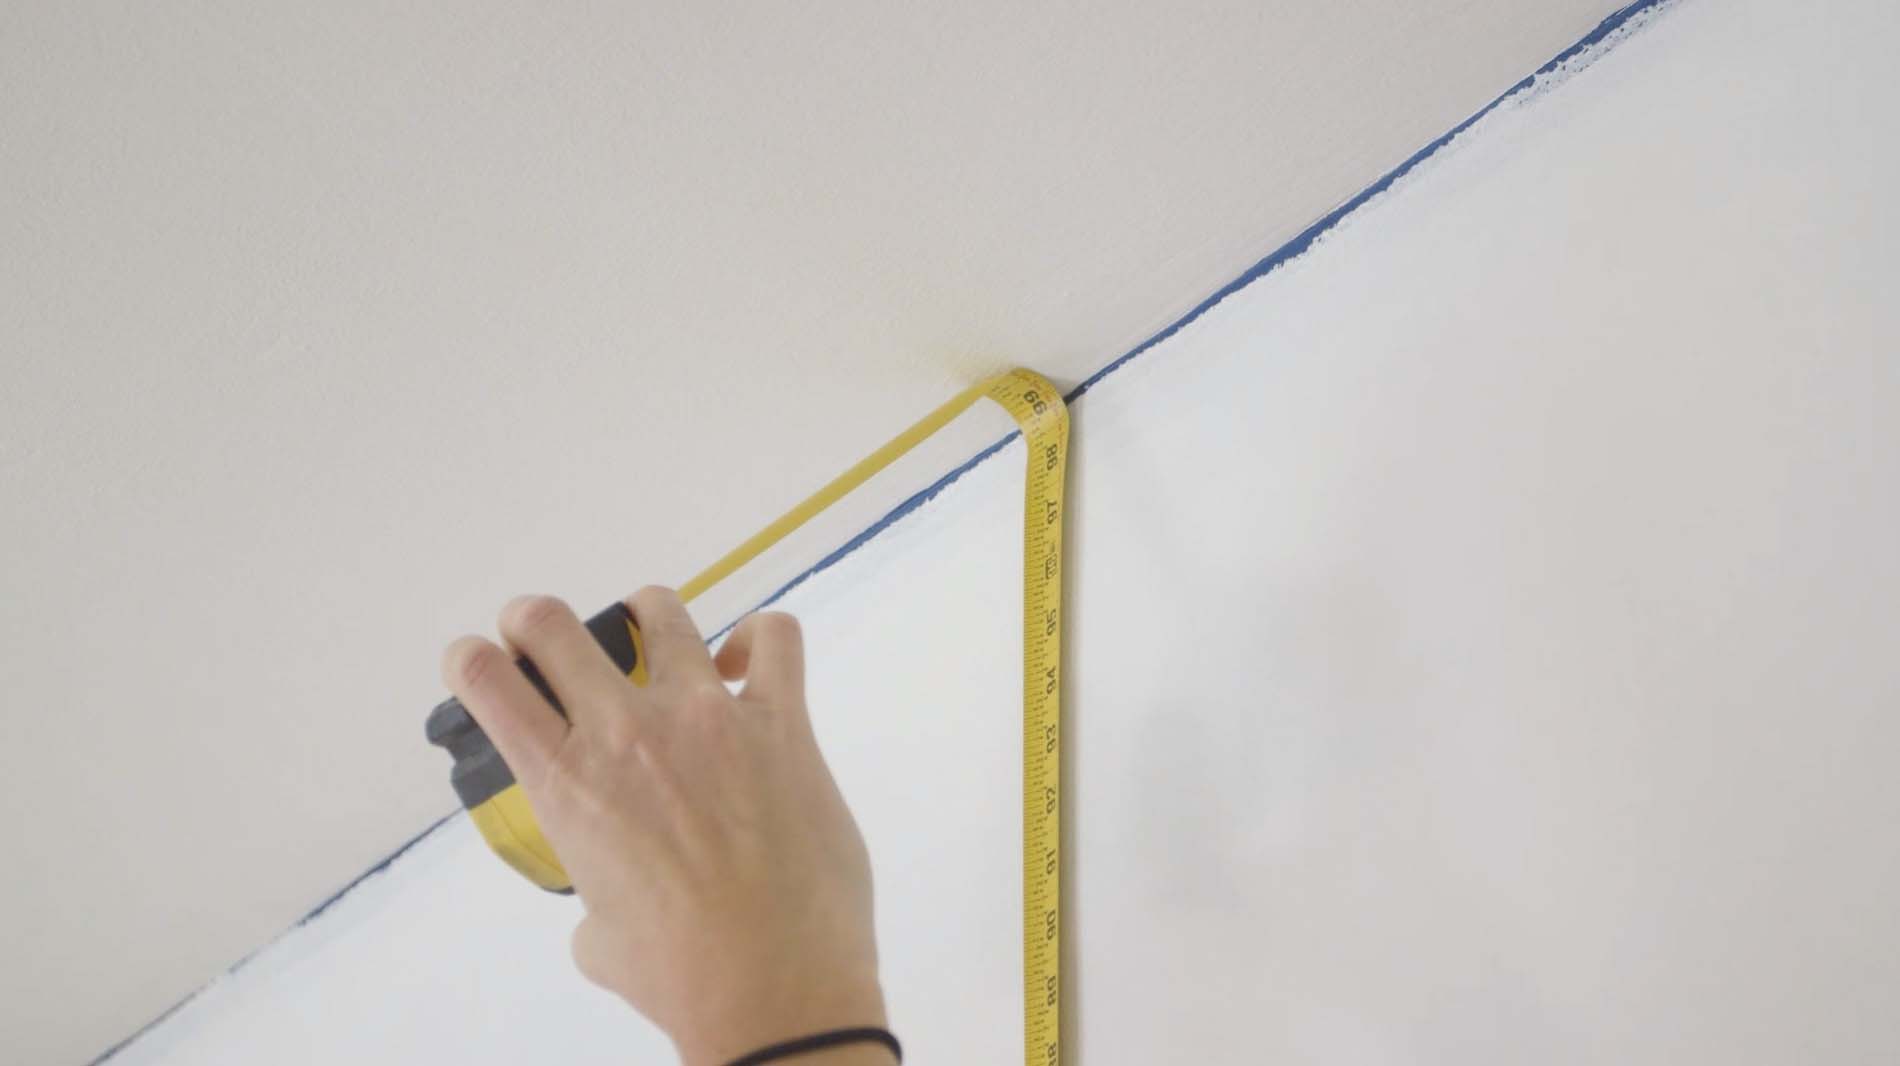
Hold your shiplap board up to the wall where you will be installing it and mark the width of the outlet on the board. You can also measure the wall side to side and top to bottom from the outlet opening to get exact measurements.
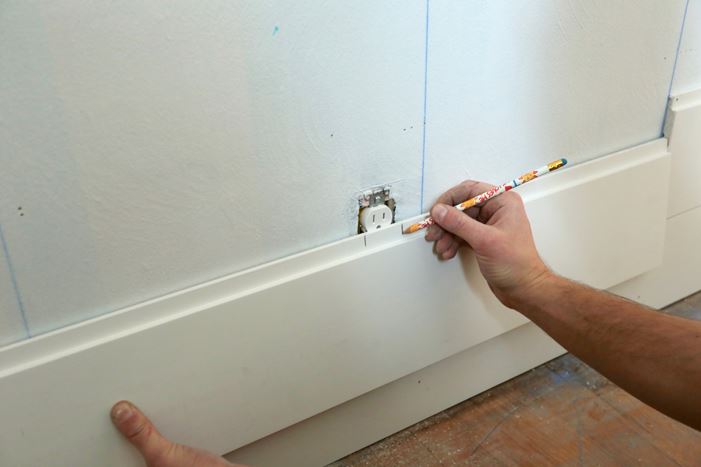
Next, use a tape measure to note the locations of the top and bottom of the outlet. Then transfer those measurements to your shiplap board and create a rectangle based on the width and height of the outlet.
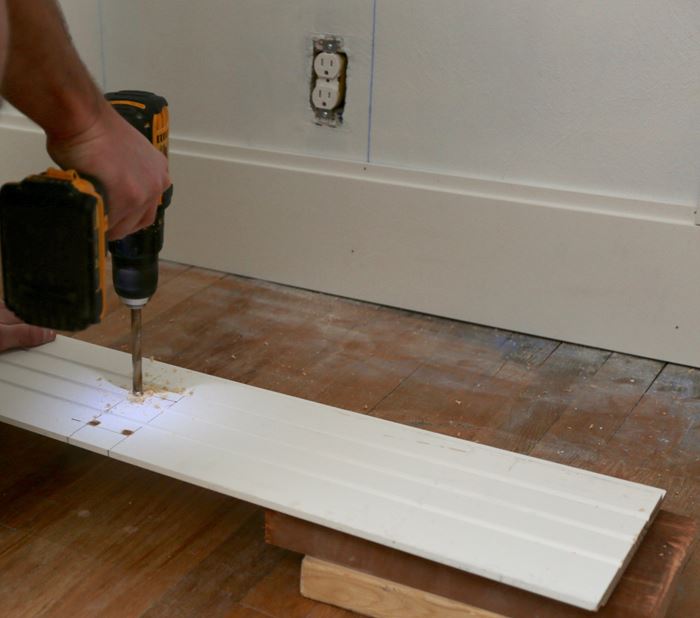
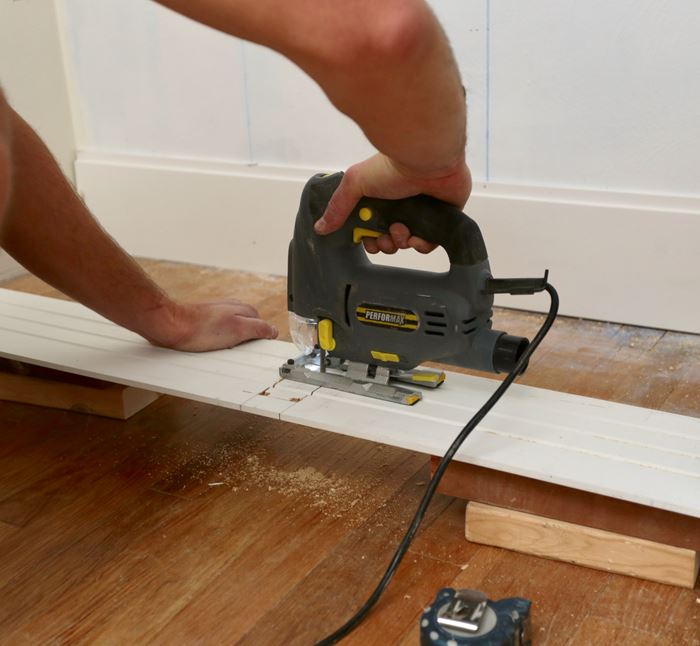
4. Cut shiplap board to fit outlet
Use a drill to create holes in the corners of your rectangle and then cut it out using a jigsaw.
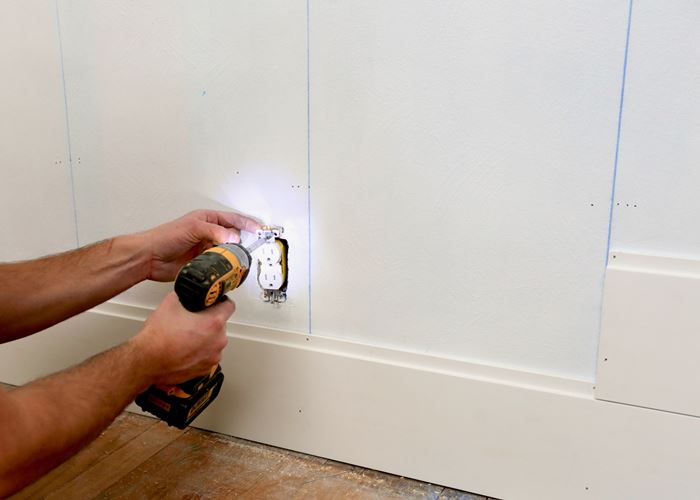
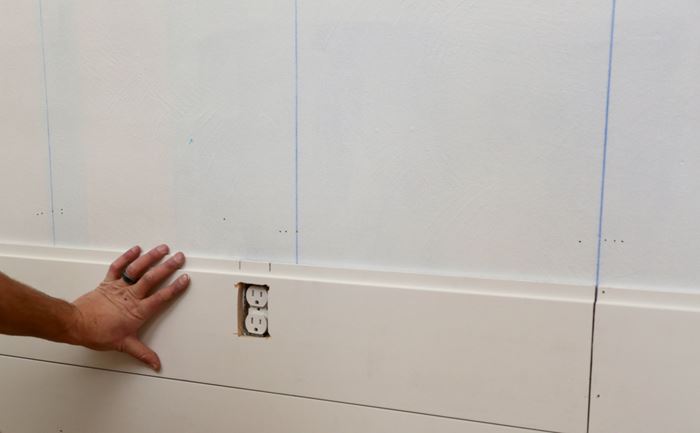
5. Fit shiplap board over outlet
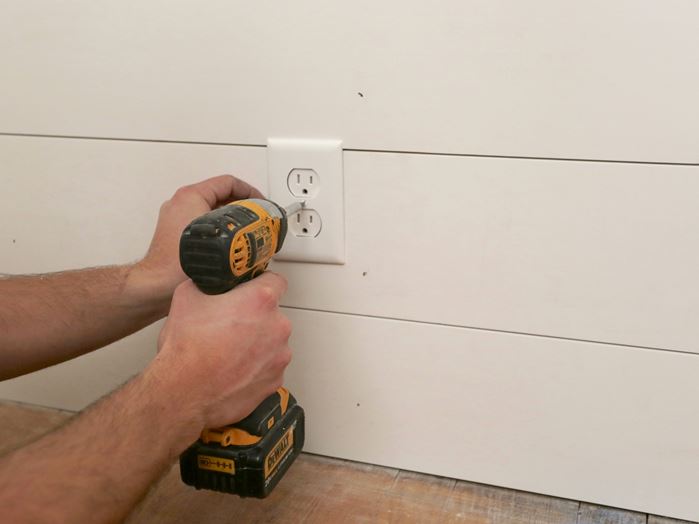
Unscrew the outlet from the wall and fit it through the custom hole in your board.
*Pro tip: According to National Electrical Installation Standards, your outlet must be flush with your wall. Article 314.20 states,
Installations within or behind a surface of concrete, tile, gypsum, plaster, or other noncombustible material, including boxes employing a flush-type cover or faceplate, shall be made so that the front edge of the box, plaster ring, extension ring, or listed extender will not be set back of the finished surface more than 1∕4 in. (6mm). Installations within a surface of wood or other combustible surface material, boxes, plaster rings, extension rings, or listed extenders shall extend to the finished surface or project therefrom.
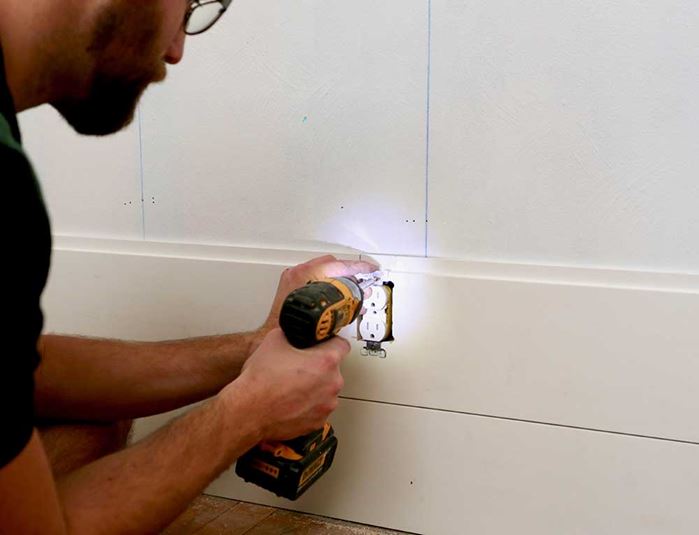
If your outlet is setting back more than 1/4 in., you will need an electrical box extender.
After the board is installed, you can re-attach the outlet.
6. Attach outlet face plate
Screw the face plate in place and you can turn the breaker back on. If you are painting your shiplap, you will want to add this step after you finish painting.
7. Repeat
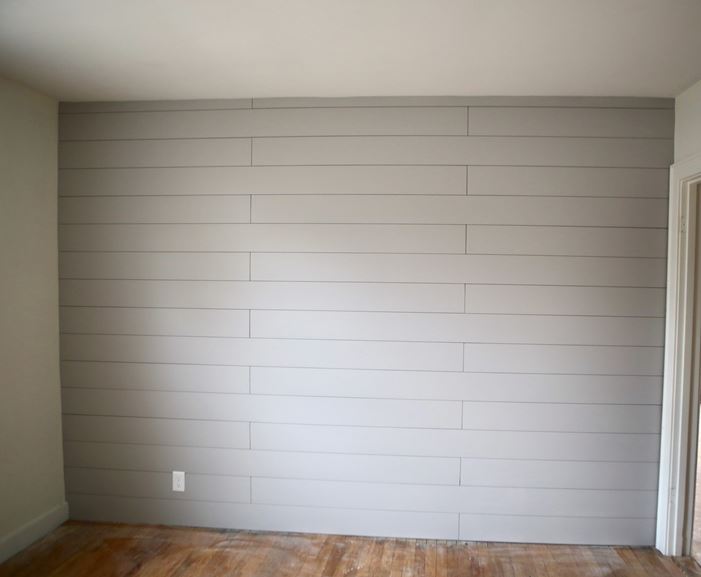
Repeat this process as needed depending on how many switches and/or outlets are along your wall(s).
Watch our video below for additional support:
Ready to start your project? Find where to buy.