How to Caulk Seams on Shiplap
Posted 5/17/2021 by Amanda Hall

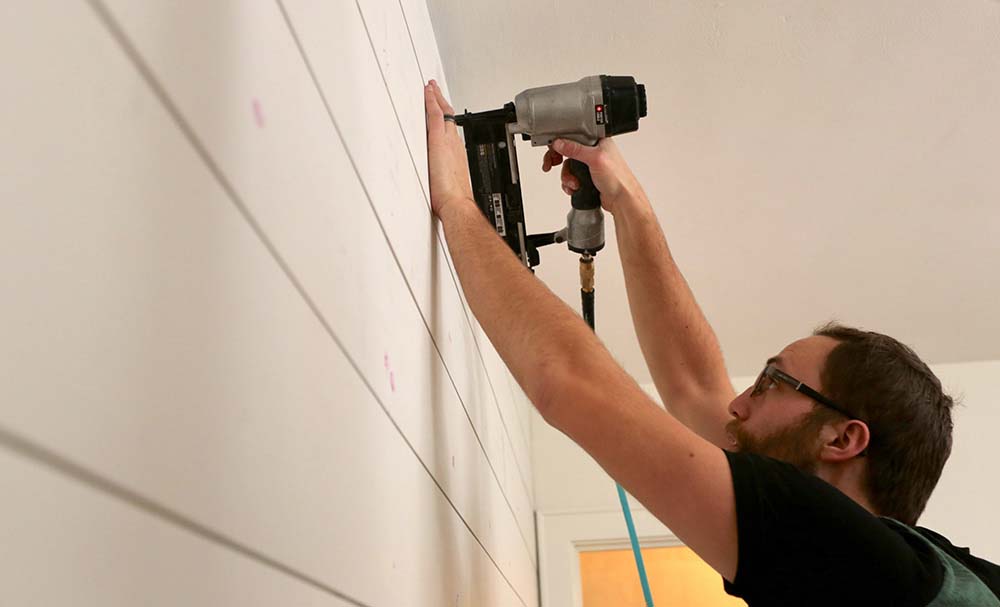
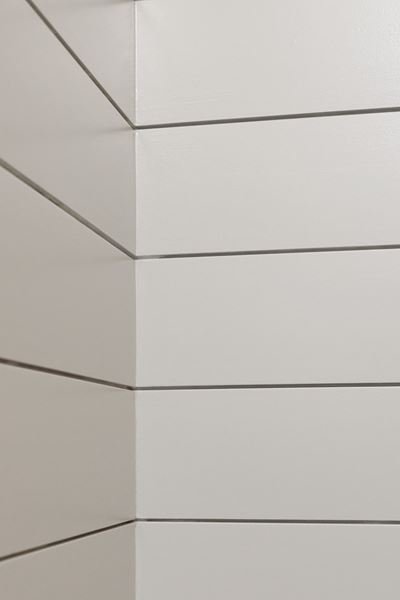
This Rustic Collection white shiplap living room is seamless without the appearance of any gaps or seams where the shiplap end joints meet.
Fill Shiplap Seams With Caulk
To create a seamless look, you’ll want to make sure any gaps and edges are filled in with caulk, just like you would fill in nail holes with wood filler when affixing shiplap. Caulking the edges will create clean lines and a finished look. If you are using UFP-Edge primed shiplap boards, we suggest completing this step before painting.
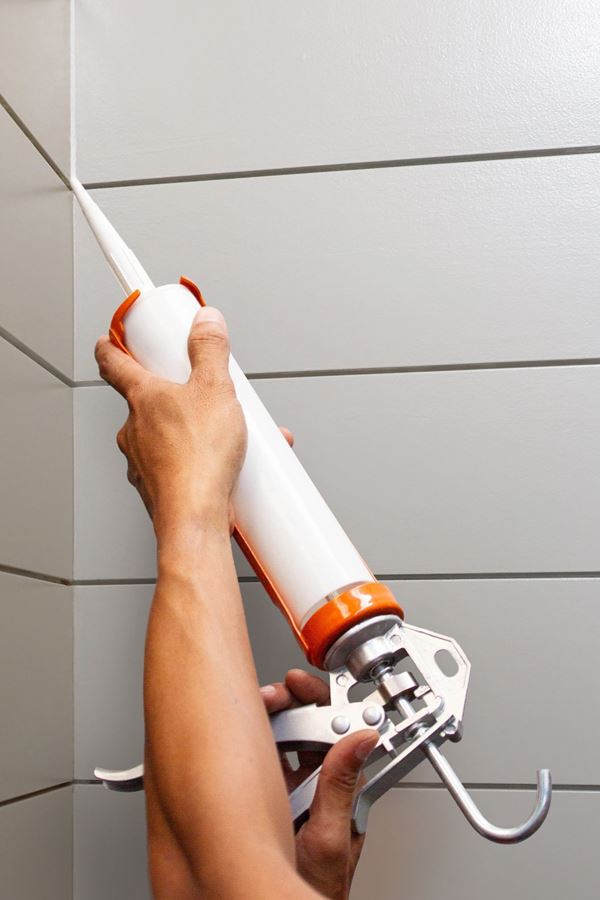
How To Caulk Seams On Shiplap
Step 1:
Once you have installed your shiplap, run a bead of acrylic caulk (also known as latex caulk) along the seams where the shiplap ends butt up to a wall, inside corner or molding.
Step 2:
Smooth out the caulk with a clean finger or rag so that the caulk fits neatly into the seam. Acrylic caulk is water soluble and can easily be cleaned off fingers or tools with a rag, mild soap, and water.
Step 3:
Wipe down any excess caulk with a lint-free rag dabbed in soapy water. Make sure to do this right away while the caulk is still wet so that it does not dry and affect your layer of paint.
Step 4:
For larger gaps, you may need to caulk twice since caulk will shrink as it dries.
Step 5:
Once caulk is dry, you may begin painting. Caulk can be easily painted and of the four major types of caulk, it is the easiest to paint and yields the best results for interior projects. If you're using our prepainted shiplap, you'll skip this step. If you’re looking for touch-up paint or paint formulations, see our touch-up information listed on our product pages.
Use Caulk To Cover Up Mistakes
Caulk is helpful in covering any mistakes you may have made in your shiplap installation. If you cut a board slightly short or if there are gaps between your trim and shiplap, caulk can fill in those gaps without showing any evidence of a mistake. Although you don't want to overdo it on the caulk, it can be very helpful, especially for beginner DIYers. Even with the perfect cuts, professionals will use caulk to make sure everything is sealed well for a finished look.
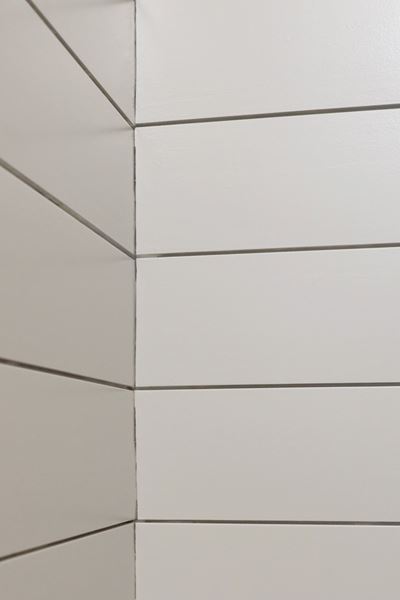
See the stark difference that caulk makes in a corner seam of Timeless primed shiplap.
READY TO START YOUR HOME PROJECT? FIND WHERE TO BUY.