Create Your Own Designer Porch with Native Woods Shiplap
Posted 2/3/2022 by Amanda Hall
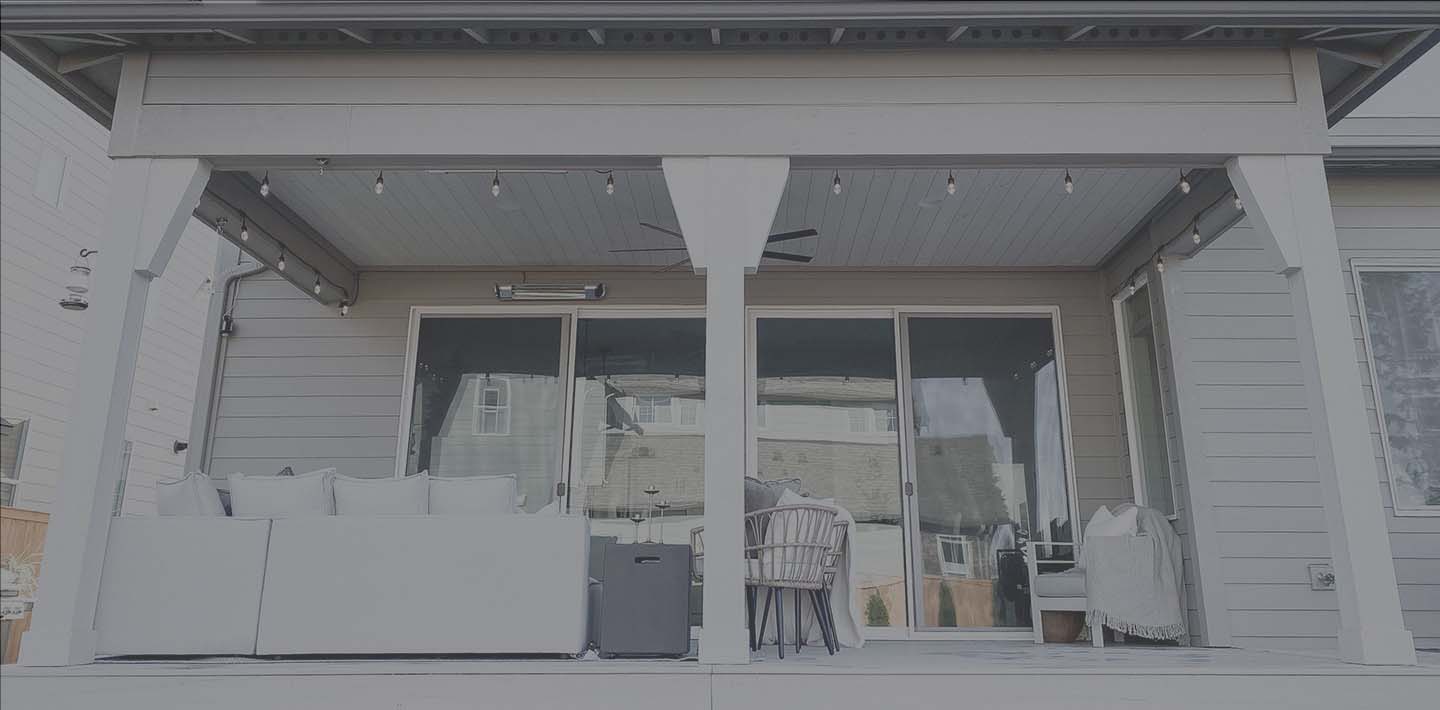
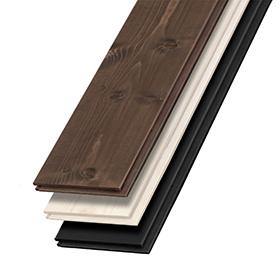
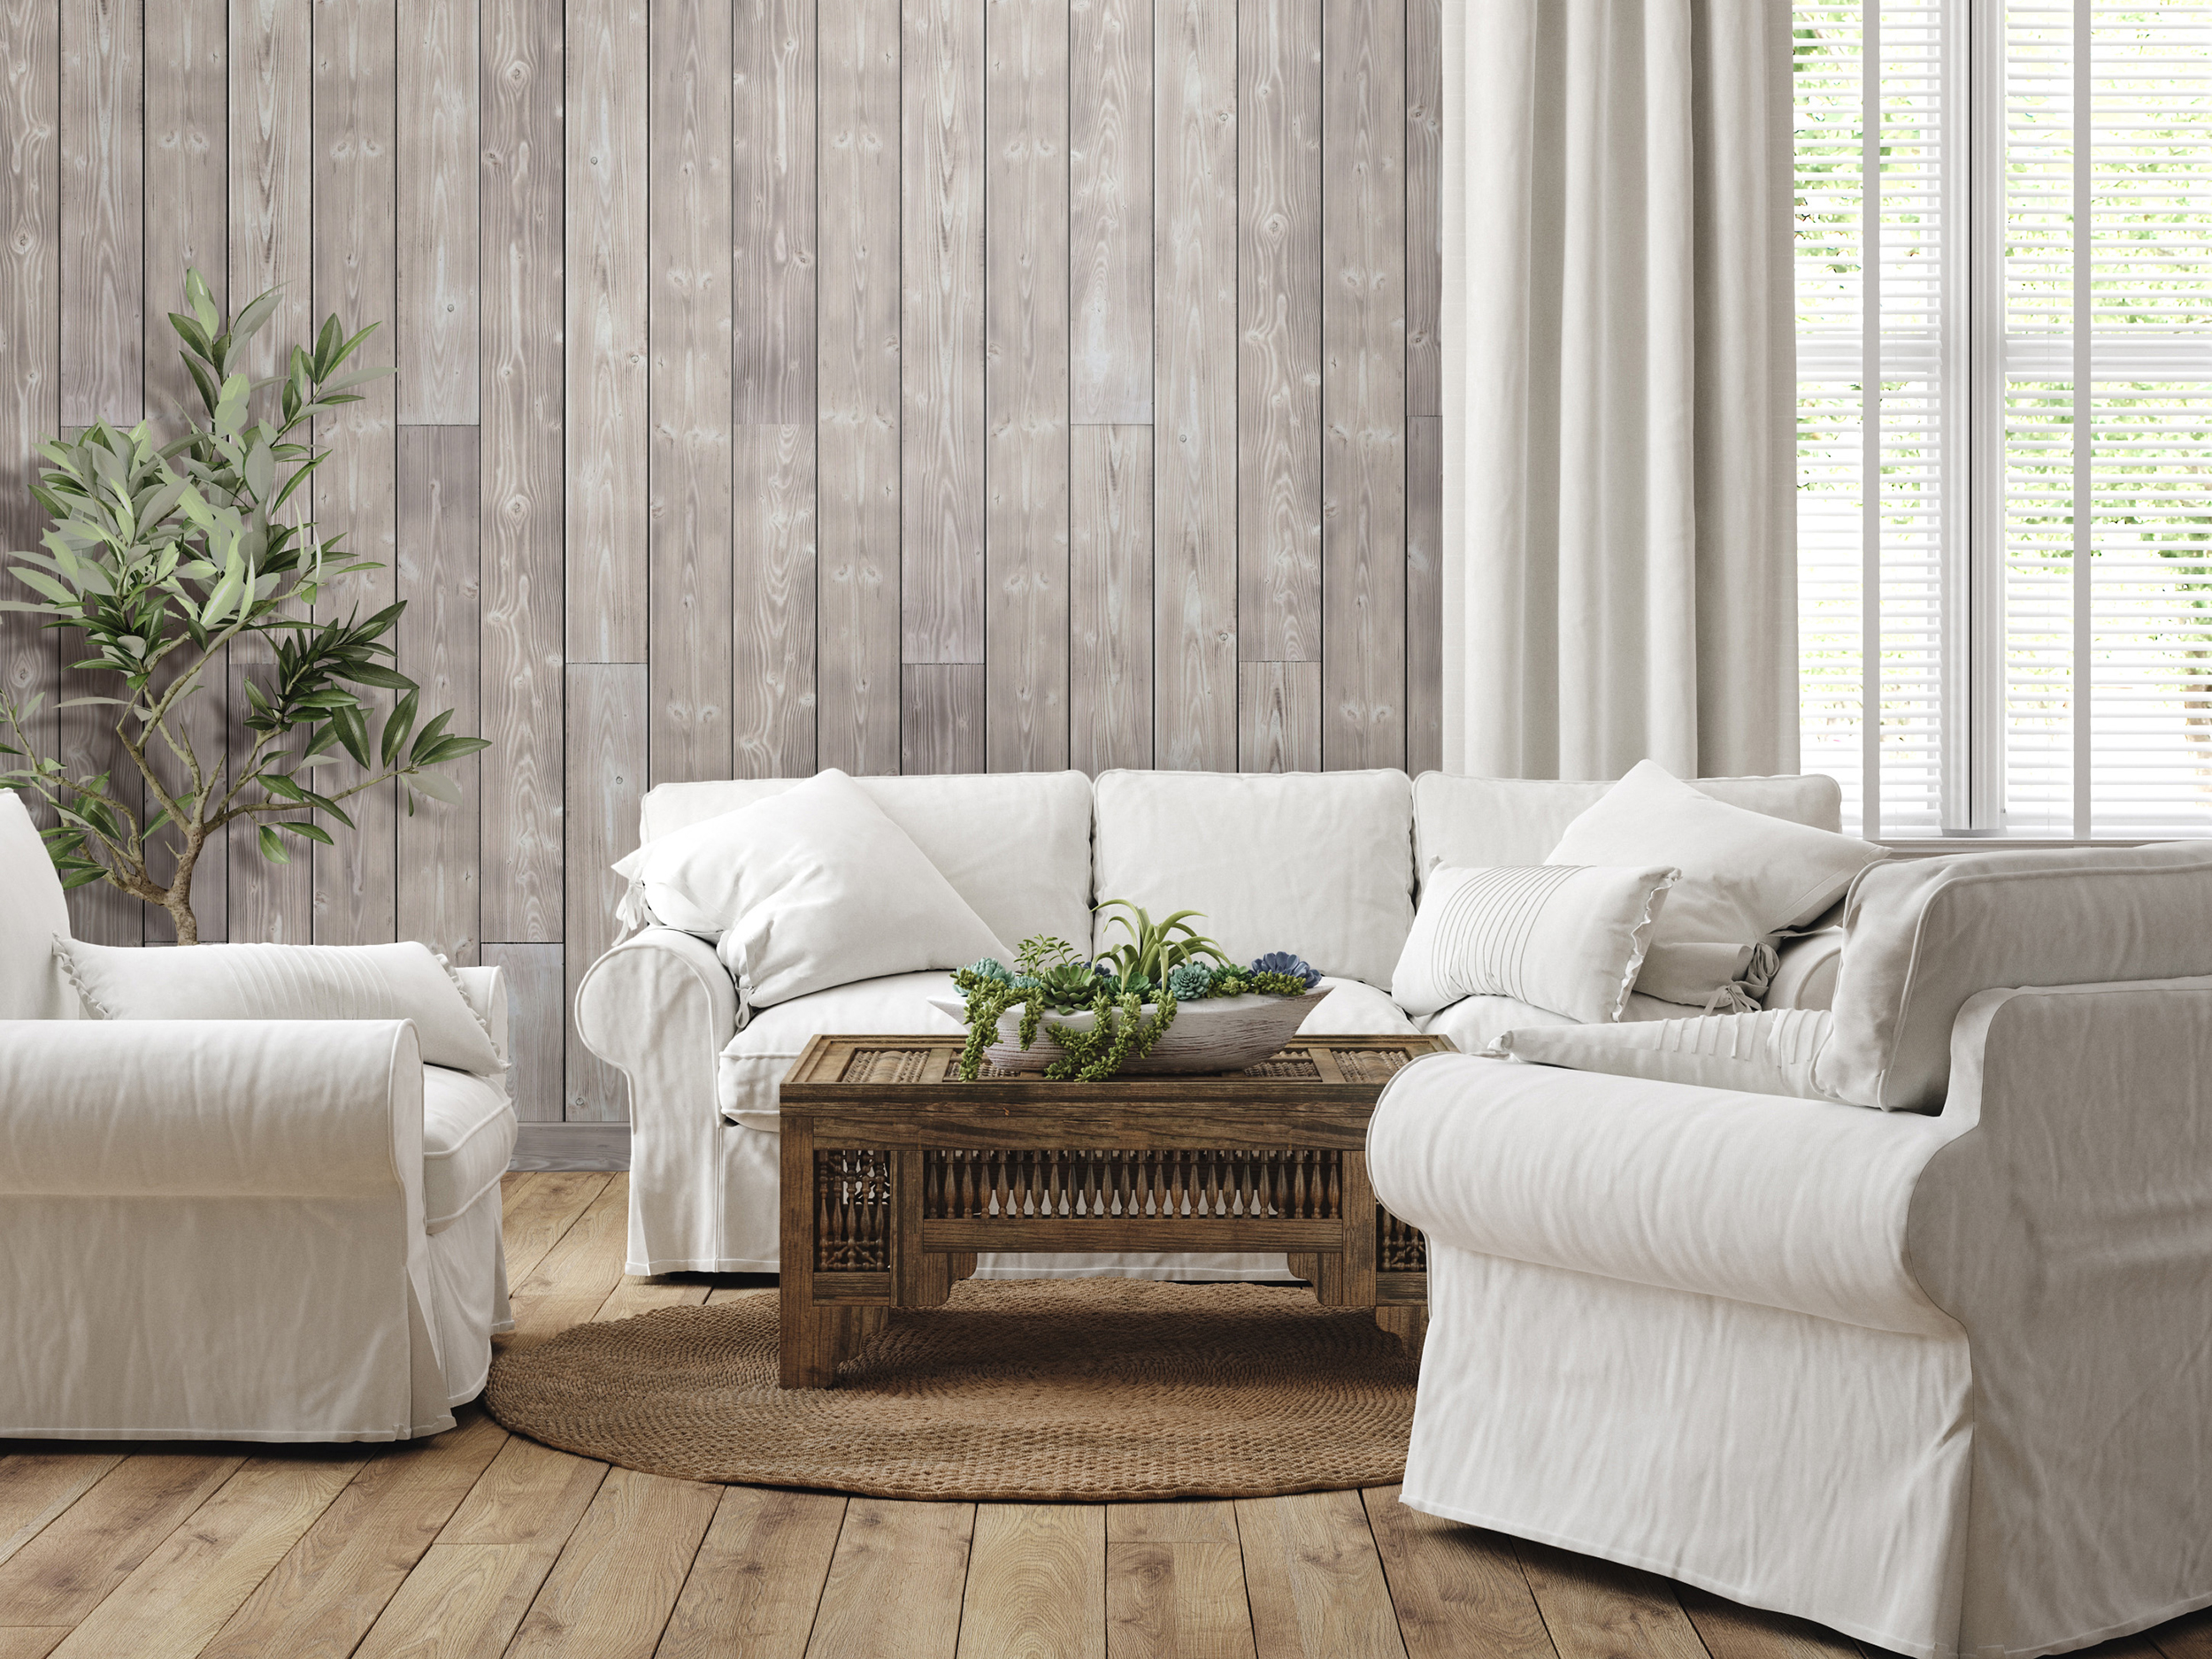
After reviewing our prefinished color options for Native Woods shiplap, this designer chose our Alpine color because of its light finish and whitewash appearance.
“Adding character to your home is now as simple as connecting two boards of wood. And yes, it’s really that easy.”
When principal designer and owner of Sno Valley Studio, Milissa Ching, reached out to us about her outdoor living project, we thought it was just the right fit for our new product, Native Woods shiplap.
Ching had used our Rustic Collection shiplap in her Surf Shack Inspired Boy’s Bedroom. She was so happy with the result of the black distressed shiplap she even added some of her leftover boards to her husband’s office. Since Ching had a quality experience installing our shiplap boards in her son’s room, she was much more encouraged to install our Native Woods shiplap on her covered porch ceiling when she couldn’t find adequate labor to hire out.
Designer’s Favorite Features of Native Woods Shiplap
We asked Ching what she enjoyed most about the Native Woods shiplap. Here’s what she told us:
- The interlocking pattern requires fewer exposed fasteners, which is pro talk for “You don’t have to fill nail holes or paint/stain anything.”
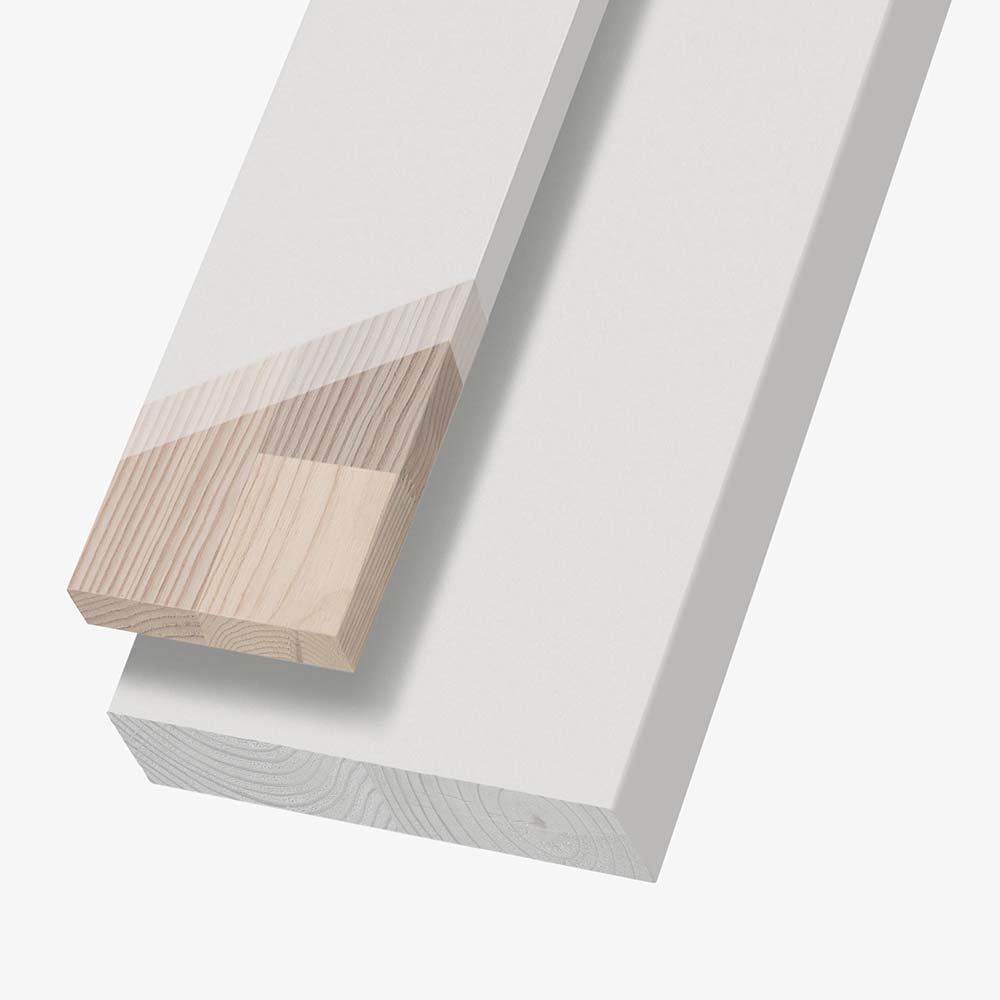
- It is end-matched and requires fewer cuts, which means you can lock the pieces together length and widthwise for professionally tight seams.
- It can be used on select covered exterior applications; for example, covered patios and front porches.
Although installing shiplap overhead on a ladder might seem daunting, the interlocking profile helps fit boards snug into place, and the automatic nickel gap reveal means you don’t have to mess around with spacers.
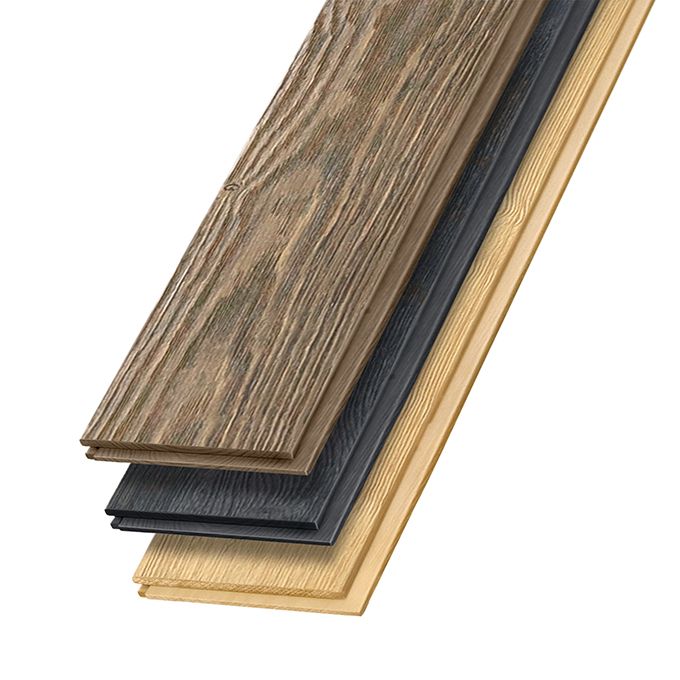
Native Woods shiplap comes in Natural and an array of prefinished colors. This also helps with installation so you can skip the step of painting and save your neck from the soreness that comes from looking up for an extended amount.
Tools and Tips for Installation
Here’s a list of the tools that Ching used to install the boards, along with her top tips for install:
Tools
- 2 in. 18-gauge brad nails
- Compound mitre saw
- Jig saw
- Mallet
- Nail gun
- Pencil
- Pliers
- Scrap paper
- Trim puller
Tips:
- ORDER MORE: Always order a minimum of 10% product overage to ensure most consistent color/woodgrain and mishaps.
- QUALITY CONTROL: Before cutting and hanging your boards, the very first thing you will want to do is open 3-4 packs and lay out the boards. During this step, you want to do two things: 1) look for damaged or warped boards and 2) ensure consistency in the pattern. No two boards are alike, and you’ll want to arrange them so you have a well-blended application throughout the installation.
- START AND END CUTS: Before you start nailing boards, measure the length and width of your space. Determine how many boards it will take to cover and if you will need to rip the end boards down in width. You don’t want to get to the end only to realize you need a half-inch-wide board to complete the final row. This would make for an uneven look. It is better to rip down the first board slightly to ensure your end piece looks uniform.
- WORK WITH A PARTNER: This is a two-person job if you’re working with longer length boards. There are tricks of the trade to shim boards up, but there were times when one side needed to be tapped in, which caused the other to pop out. Having an extra set of hands made everything about this project easier.
- REMEASURE OFTEN: While you are installing, measure often as you go. It is unlikely that your space is perfectly square. It is more likely that there are deviations along the way, usually in the ballpark of 1/4 – 3/4 of an inch. It will make a difference if you want to ensure a nice tight line all the way down. NOTE: If you’re planning to install trim pieces along the inside frame, this is less important.
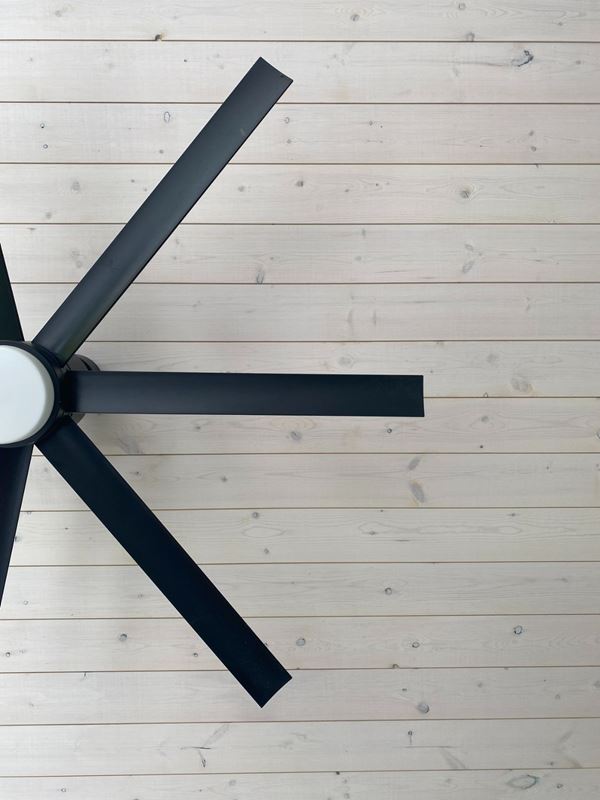
- TEMPLATES: If you have things like recessed lights, fans, or outlets to work around, using a template to cut your boards will help reduce errors. Use simple craft paper to trace the outlines of the objects you need to work around. When it is time to figure out placement on the board, have someone dry fit the board while you mark the spot on the board to trim out.
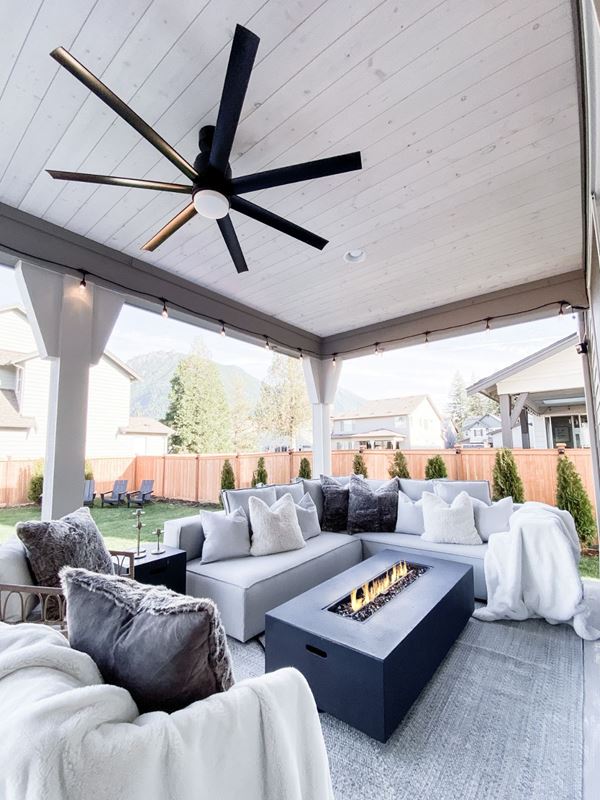
High Visual Impact for a Low Amount of Effort
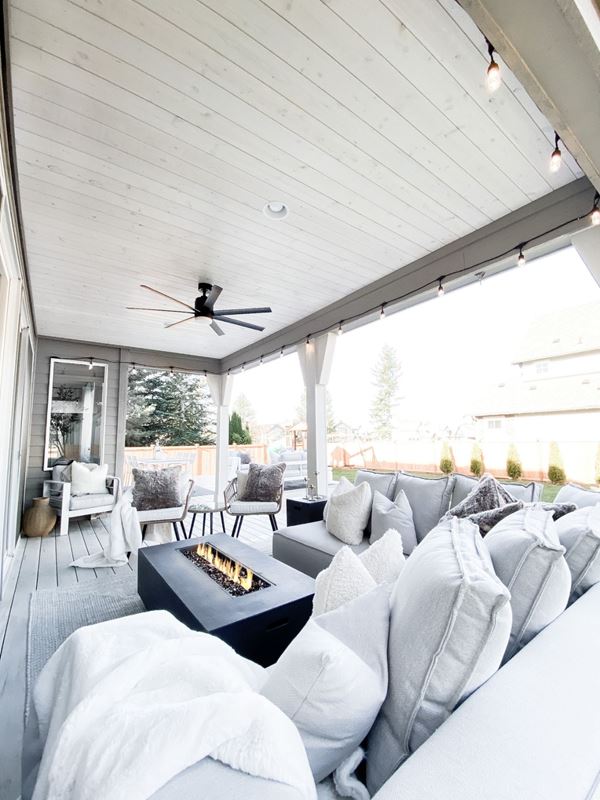
Ching was able to complete her outdoor covered area with more ease than she originally thought. She commented, “While this project initially intimidated me, it ended up being one of the easiest home projects I have done.”
Ching was very pleased with the final look of her outdoor covered deck featuring Native Woods Alpine shiplap. She remarked, “It not only adds dimension and a high-end finish to the ceiling, but the Alpine white color I used brightens up an otherwise dark space beautifully!
Looking to easily add visual value to your home? Browse our Native Woods shiplap brochure to find the right color for your next project.