How To Measure Your Wall For Shiplap Installation
Posted 3/4/2020 by Amanda Hall

Measuring your wall is an important first step prior to installation. Proper wall measurements will allow you to calculate the amount of shiplap needed to obtain the best possible fit. Measuring correctly will save you time and money.
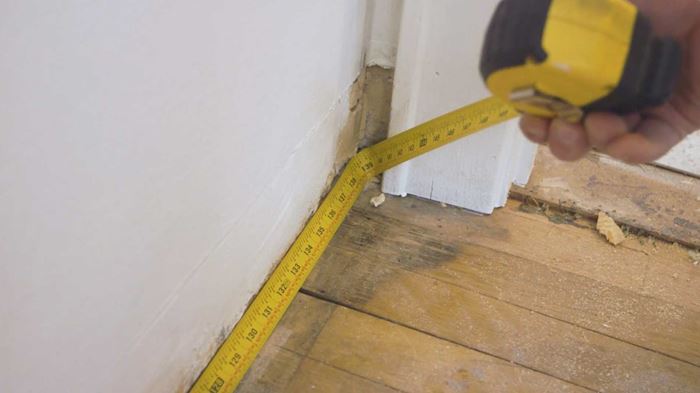
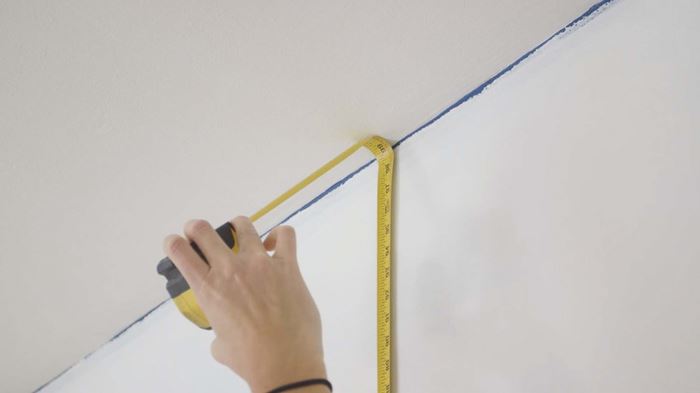
Step 1: Measure Width and Height
To begin, you’ll want to run your tape measure along the bottom of the wall for the width and from floor to ceiling for the height. Make sure to measure in several different places along the wall because ceilings and floors can be uneven, especially in older homes.
Step 2: Find Square Footage
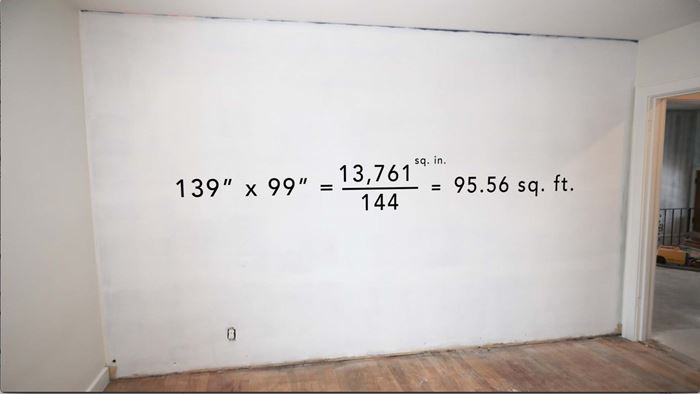
Find the height and width and then multiply to find the square footage of the area you will be covering.
Example: This wall is 139 inches wide and 99 inches tall so we multiplied those numbers to get the square inches then divided by 144 to get the square footage. You'll want to measure in inches so that you can get a more exact number.
Step 3: Use UFP-Edge Coverage Calculator to Find How Many Kits You'll Need
Enter your measurements into our coverage calculator. The coverage calculator will give you how many shiplap kits you’ll need.
Step 4: Divide Wall Square Footage by Board Square Footage to Find Exact Number of Boards Needed
Use the square footage you previously calculated to figure out how many boards are needed to cover the wall. Use the square footage and divide that number by the square foot of each board. The square footage of each board can be found on each product page and on your packaging.
Example: 120ft2 / 3.08ft2 = 39 boards.
Depending on how you stagger your boards, you may need to use more boards, but you'll know how many boards you’ll need to cover your wall.

The square footage of each board can be found on our product pages under "product dimensions."
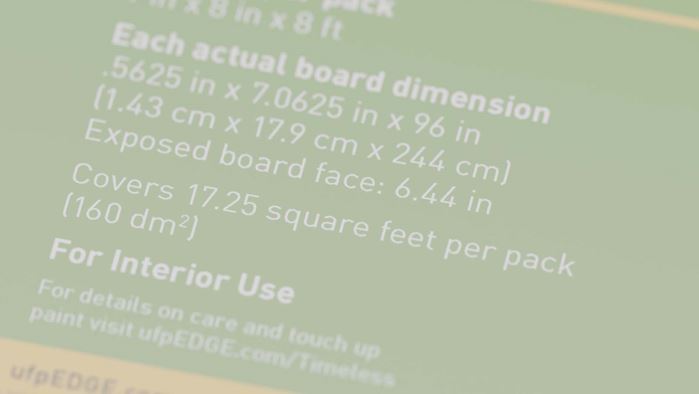
The square footage can also be find on your shiplap packaging.
Step 5: Decide How You Want to Fit That Last Shiplap Board
Using your calculations, you can determine how much shiplap you’ll need to trim off the top and/or bottom board if you’re not framing with 1x4 trim.
If your wall is uneven, you will need to trim your top and/or bottom board accordingly. You may decide to cut the top or bottom board, depending on your style preference and how much you’ll need to trim it down. Some people prefer to cut the bottom board to size since it's less visible.
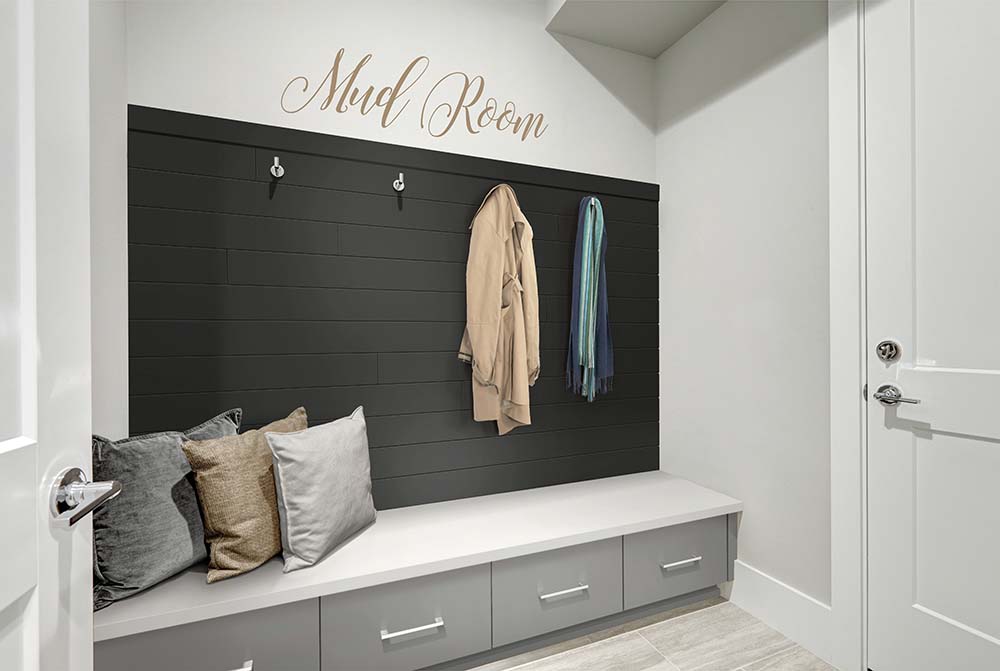
In this example below, the top board was cut to size.
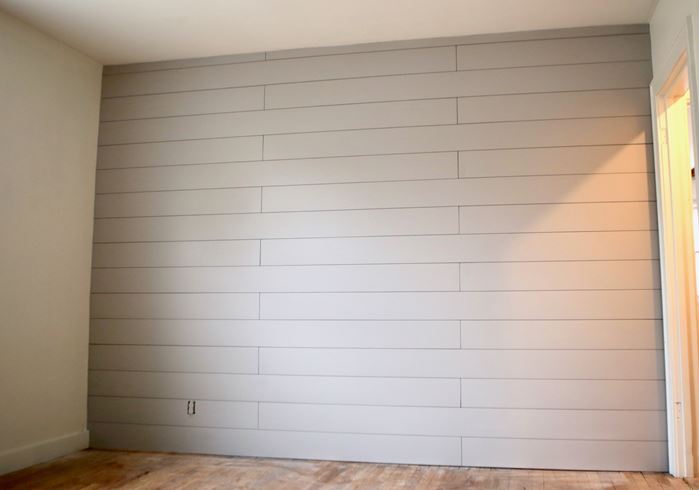
Notice the top board was cut narrower than the other shiplap boards in order to fit the wall height. You can also trim both bottom and top boards evenly for a more subtle difference.
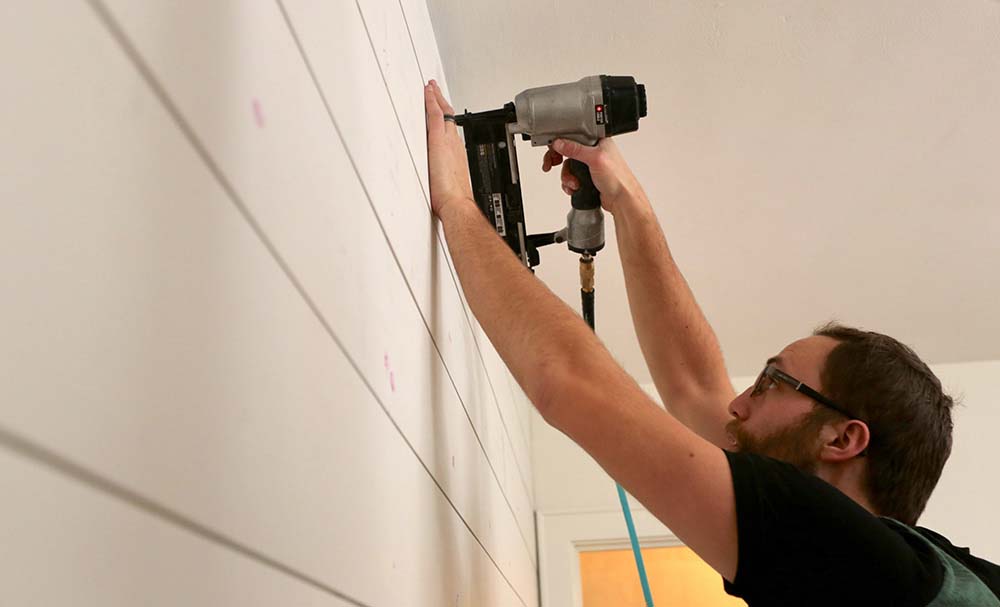
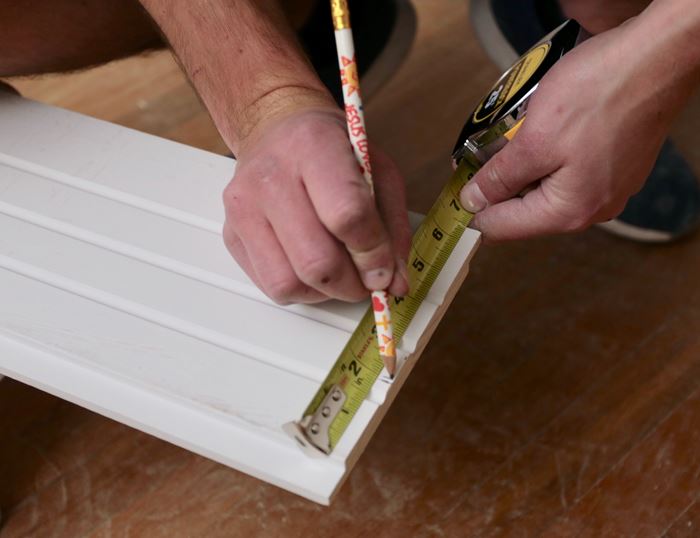
Step 6: Mark and Cut Your First Row of Shiplap Boards
Mark your boards where you'll need to trim them, cut, and set aside for install. You may decide to start measuring, marking and cutting with the first row to make sure you've made accurate calculations before moving on to other rows.
Save time on shiplap installation by measuring accurately beforehand
Measuring and calculating your square footage and kits needed beforehand allows you to save on trimming details prior to installation. Make sure to double check your calculations to confirm they are accurate. You don't want to find out your calculations are wrong after you've starting cutting your boards, then you'll have wasted both time and money.
Next Step: Marking Studs
Ready for the next step after measuring your wall for shiplap? Check out how to mark and locate your studs for install.
Interested in more installation tips and tricks? Check out all our how-to videos on our product pages.
Ready to start your next project? Find where to buy.