How to Make Your Own DIY Shiplap Sign
Posted 5/27/2020 by Amanda Hall

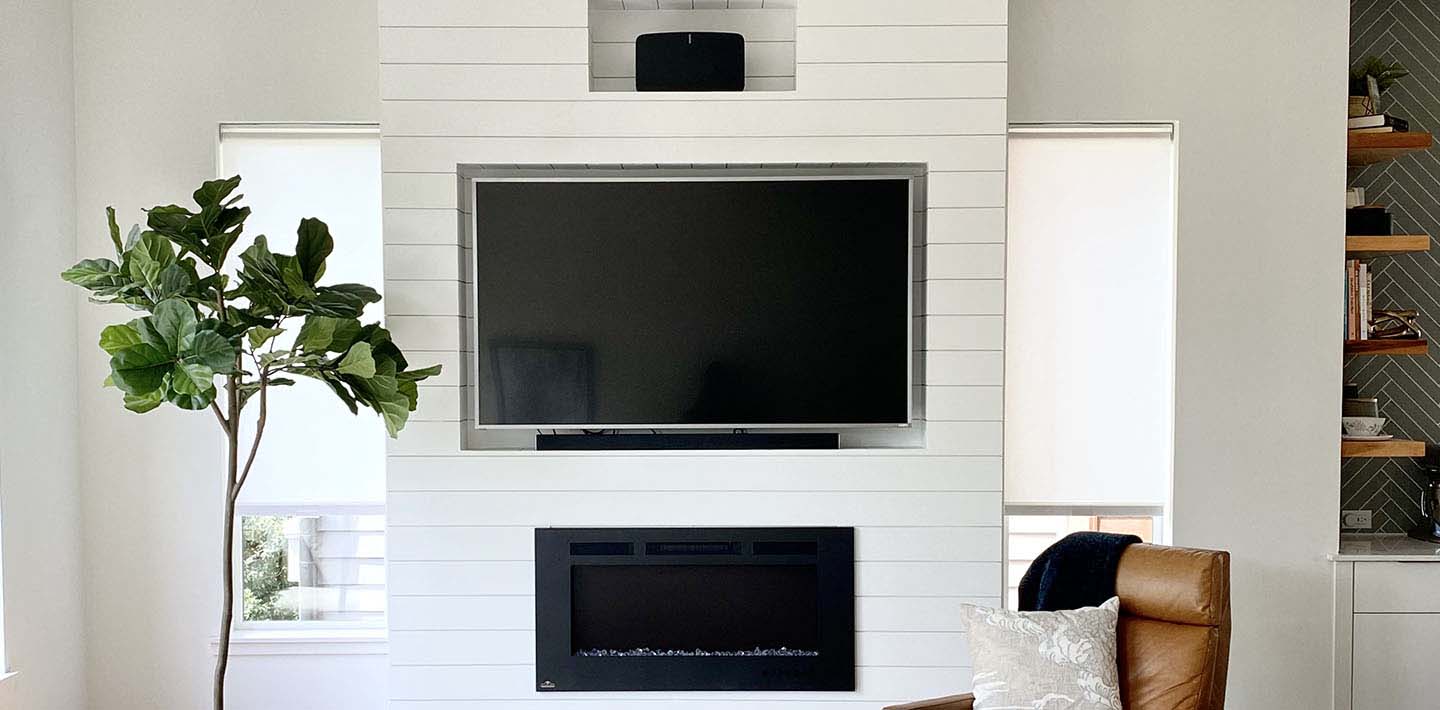
When you order shiplap for an interior project, we recommend that you order 10-15% overage to make sure that you have more than enough to cover any “oops” moments and to ensure color consistency. But what do you do if you finish your shiplap fireplace surround and you still have quite a bit of shiplap left? Rather than let it sit in storage to be blanketed in dust, a shiplap sign is the perfect do-it-yourself project that is easy enough to make on a Saturday afternoon.
Whether you have extra shiplap or you’re looking for a creative DIY project, a shiplap sign is a great home décor piece that will add interest to any room. There are several ways you can decide to decorate your shiplap sign which makes it versatile to fit your home’s interior design style.
For this DIY project, we’ve created a rectangular shiplap sign of 24 in. x 30 in.. You can make your shiplap sign to be any size or color to fit your space, just adjust the measurements as needed.
SUPPLY LIST:
Materials
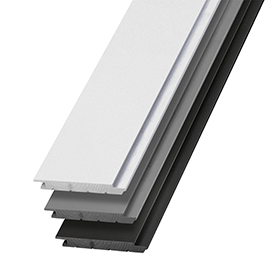
• Two 1 in. x 6 in. x 8 ft. Timeless nickel gap shiplap boards (primed or prepainted)
• One 1 in. x 4 in. x 8 ft. trimboard (primed or prepainted)
• One box of #15 or #16 x 1-1/4 in. trim nails
• Wood glue
• Wood filler (optional)
• One pint of custom paint (optional)
• Picture hanging kit (optional)
Tools
• Tape measure and pencil
• Carpenter’s square
• Table saw
• Hammer or pneumatic nailer
• Nail set (optional)
• 1 in. putty knife (optional)
• Fine grit sandpaper
• 1 in. angled trim paint or stain brush
Cut All Components to Size Prior to Assembly
Caution: Always wear gloves, a dust mask and eye protection when sawing, sanding or machining wood.
Using a table saw with a trim blade on a clean, flat, level surface, cut the Timeless Nickel Gap Shiplap and trim boards for the components of the display sign as follows:
Tip: Measure and cut the boards to fit your project. The measurements given are for a perfect build and you may find your project off a little bit. On all shiplap and trim board pieces, measure each to fit while using the following cut list as an approximate initial measurement.
From one 1 in. x 4 in. x 8 ft. trim board:
Rip the length of the trim board in half to (2) 1 in. x 2 in. x 8 ft. pieces
A (2) Top and Bottom Frame Boards at 1 in. x 2 in. x 24 in.
B (2) Side Frame Boards at 1 in. x 2 in. x 22-3/8 in.
C (3) Back Slats at 1 in. x 2 in. x 22-3/8 in.
From two 1 in. x 6 in. x 8 ft. nickel gap shiplap boards:
D (5) Shiplap Boards at 1 in. x 6 in. x 22-1/2 in.
General Assembly Advice
• Establish a fastening pattern to enhance the overall look and feel of the final assembled product.
• Apply wood glue to all joining-material surfaces before attaching the pieces together with trim nails.
• Use a carpenter’s square to check the construction after each step to make sure the components are square.
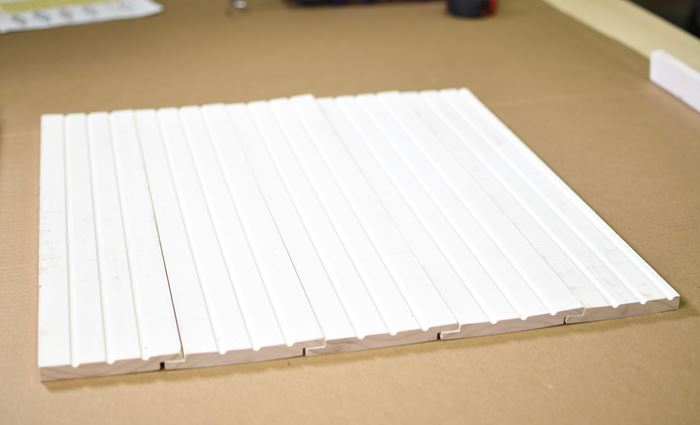
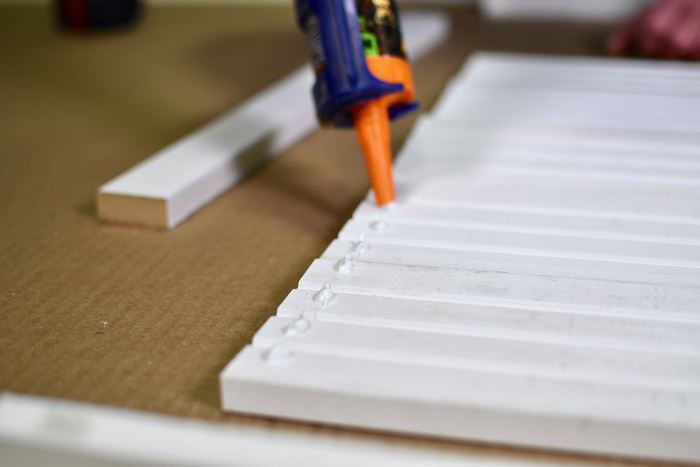
1) Assemble Shiplap Boards
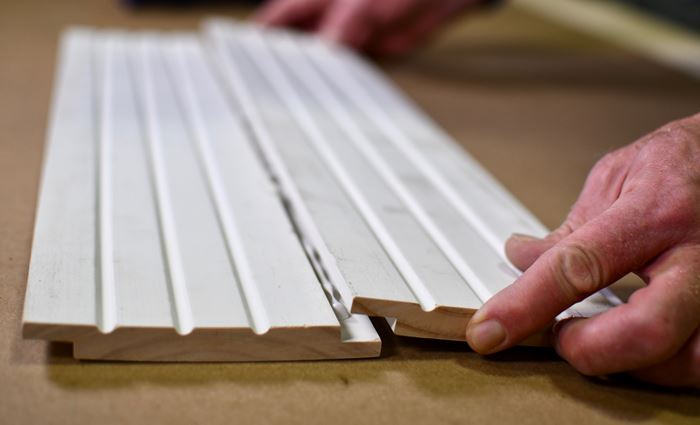
Place the shiplap boards face down on a flat, clean, smooth surface. Make sure to overlap the shiplap board flanges so their nickel gaps are consistently spaced.
Use a wood glue to help attach boards together before using trim nails
Use a table saw and cut off the outside flanges from the first and last shiplap board and make sure the outside edges are flush.
Notice how the outside flanges were cut off the first and last board for a square edge.
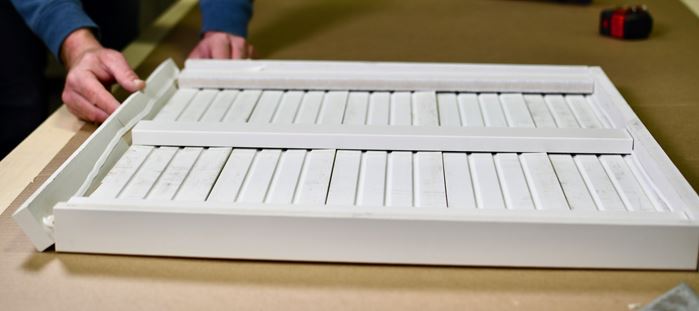
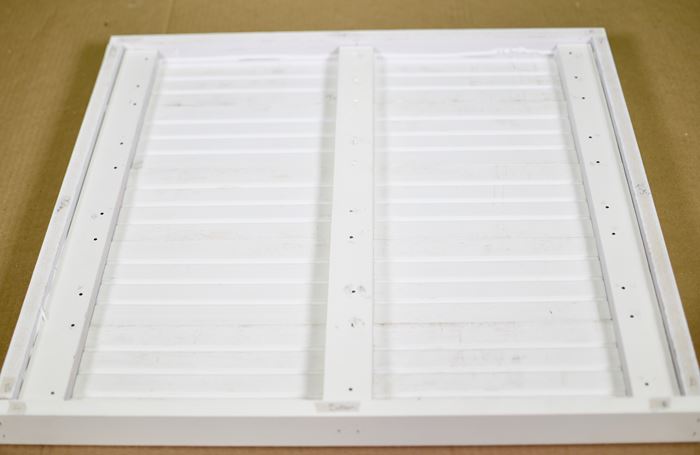
2) Attach Back Slats
Align and attach the three back slats to the back of the shiplap boards. Use 1-1/4 in. trim nails and nail through the back slats into the back of the shiplap boards. Do not nail through the shiplap’s overlapping flanges.
Applying wood glue before trim nails creates a more secure fit.
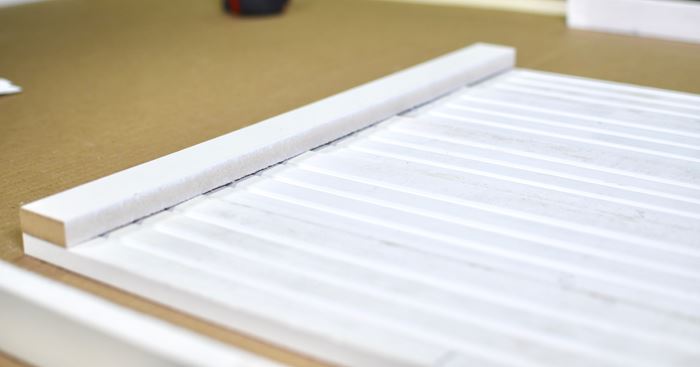
Start with the two outside back slats making sure they are flush with the outside edges of the shiplap. Then measure and mark the center of the back of the shiplap, center align and attach the remaining back slat.
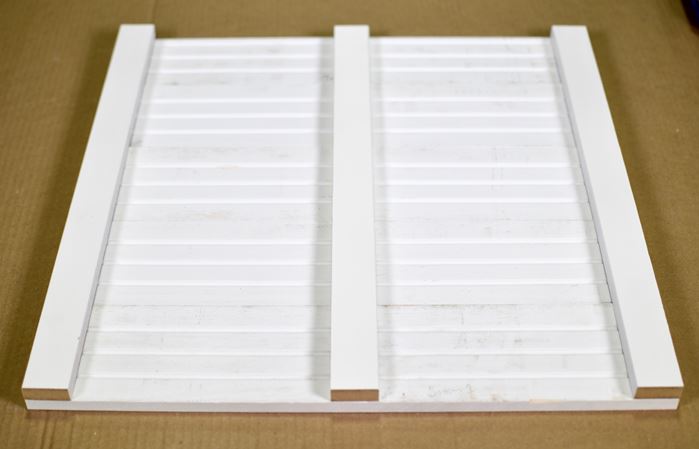
Once attached, make sure to nail in place.
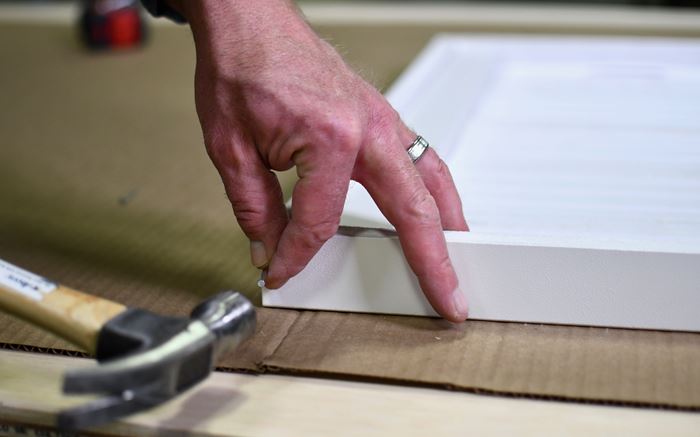
3) Attach Side Frame Boards
Align and attach the side frame boards with the outside edges of the shiplap and back slats using 1-1/4 in. trim nails.
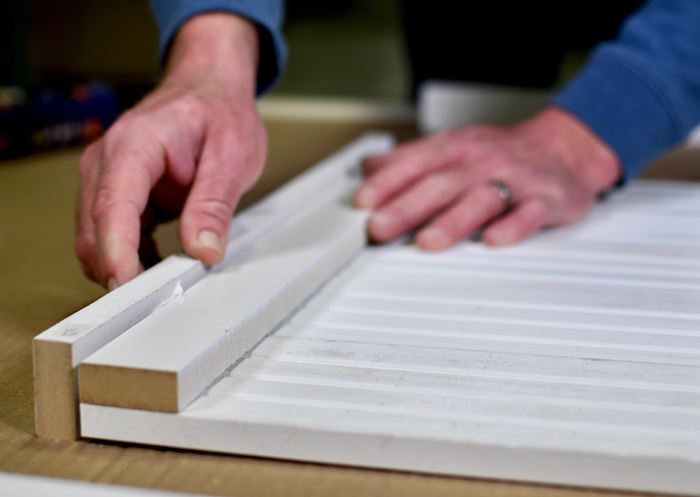
Apply wood glue before nailing
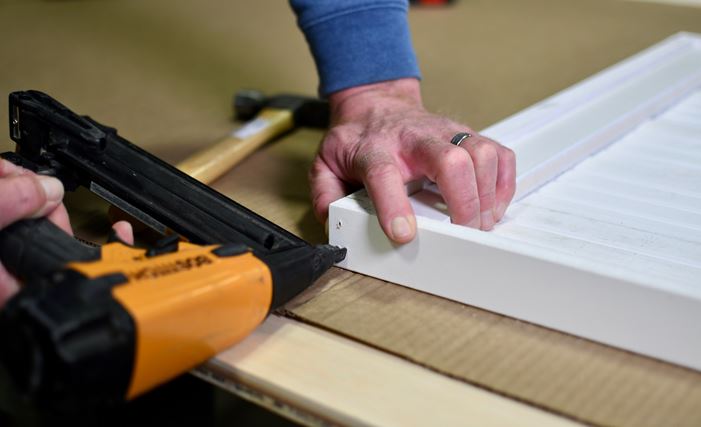
You may also choose to use a nail gun. Using a nail gun will be more time efficient, but you will need to use a bit of wood filler to fill in your nail holes when completed.
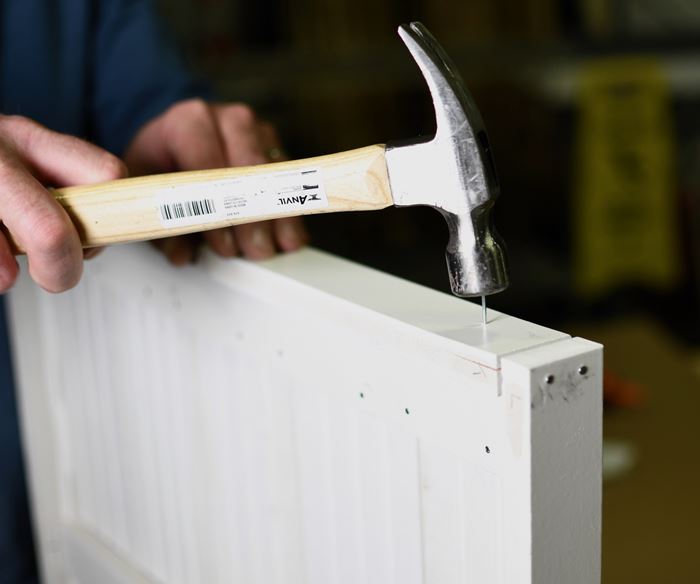
4) Attach Top and Bottom Frame Boards
Align and attach the top and bottom frame boards with the outside edges of the shiplap and back slats using 1-1/4 in. trim nails.
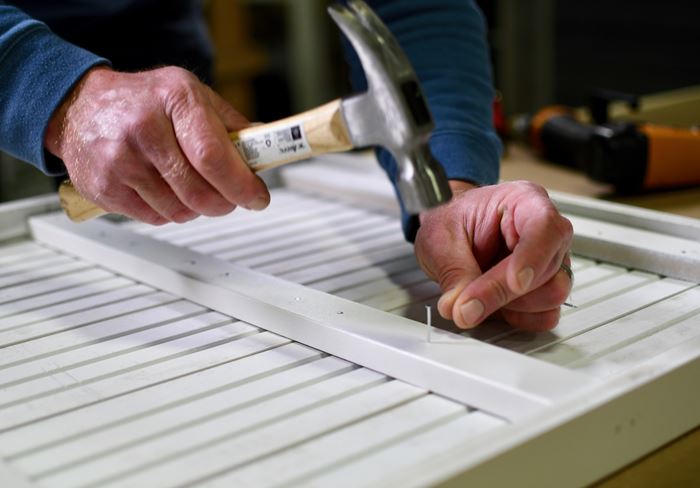
For a very secure fit, we used quite a few nails. This many nails is not necessary, but you'll want to make sure you have nailed through each shiplap board at least once.
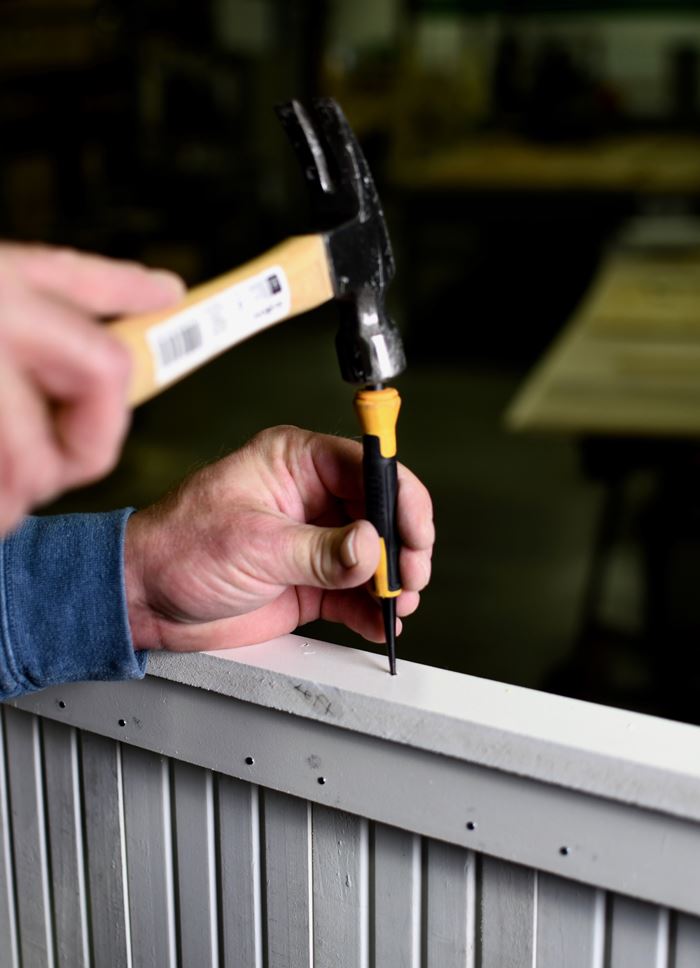
5) Finish the Shiplap Sign
Depending upon the overall desired look and feel of the final display sign, it may be left unfinished, touched up or painted. If you used prepainted shiplap and trim boards for this project, take a sample of the prepainted material to your local paint store for a paint color match for touch-ups.
Use a nail set to recess any protruding nail heads.
Fill set nail head areas with wood filler and allow to dry.
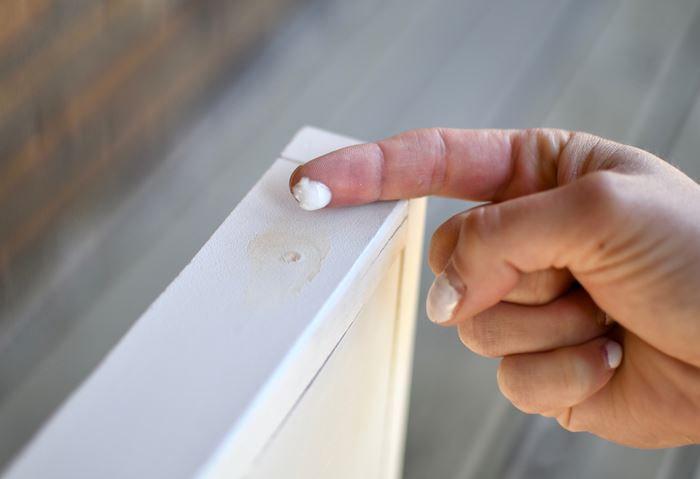
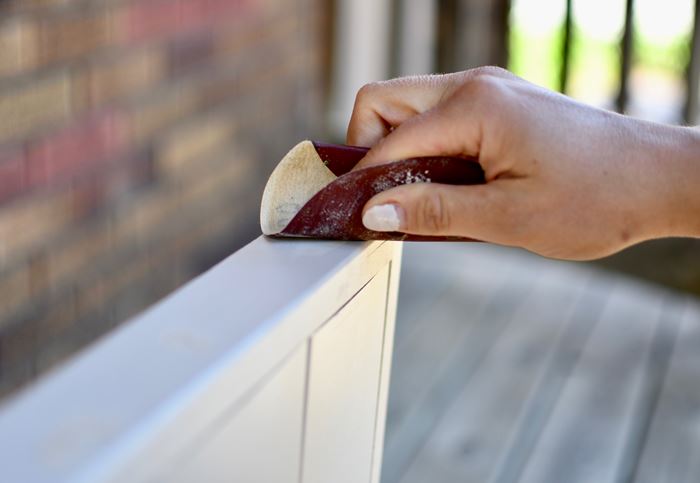
Use fine-grit sandpaper and lightly sand the wood filler and the exposed cut edges of trim and project boards.
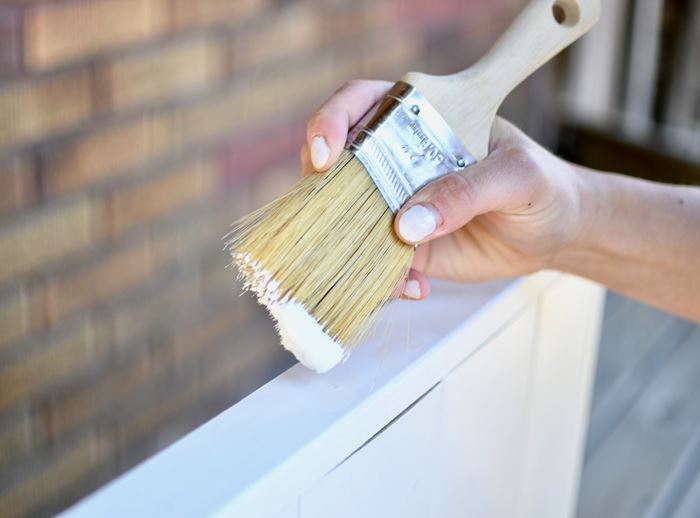
Paint the wood filler and any exposed areas with a paint brush and a color-matched paint.
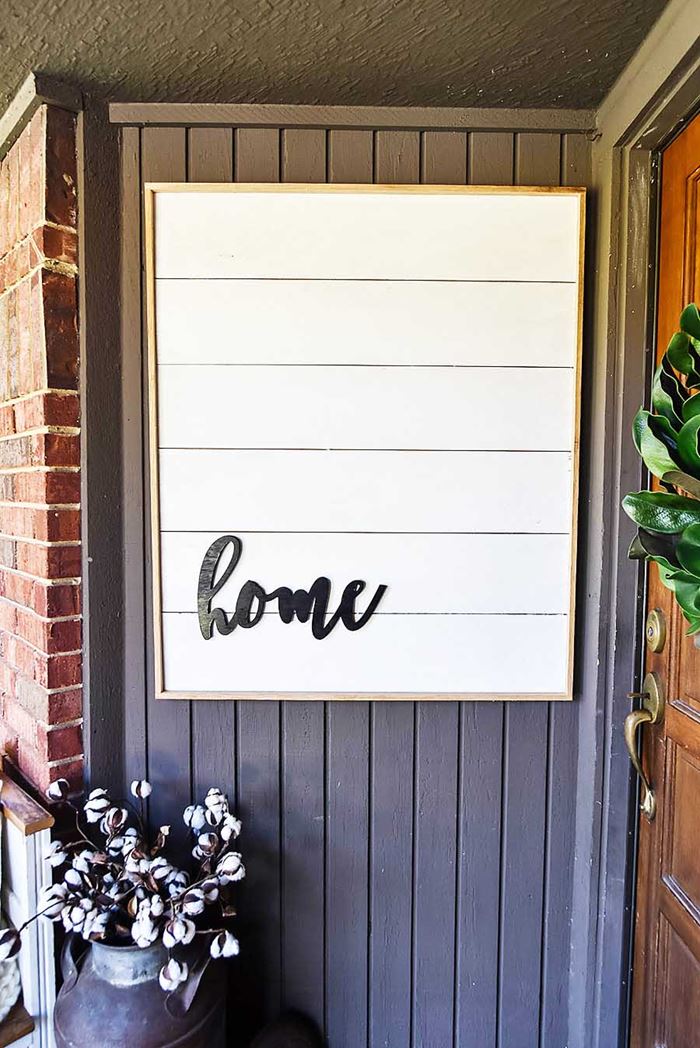
Add a message to the display sign using vinyl or wooden letters available at your favorite craft store. Or add a handwritten word or phrase using a paint brush and paint, or a permanent marker.

The display sign also provides a great space to hang and display a wreath, dried-flower arrangement, art or a favorite photograph. The display sign may set upon on a ledge or shelf, or hung on a wall using a simple picture hanging kit (available at your favorite craft or picture-framing store). Get this look with our Timeless Farmhouse White shiplap or Timeless primed shiplap and paint the color of your choice.
Check out some of these shiplap signs for décor ideas.
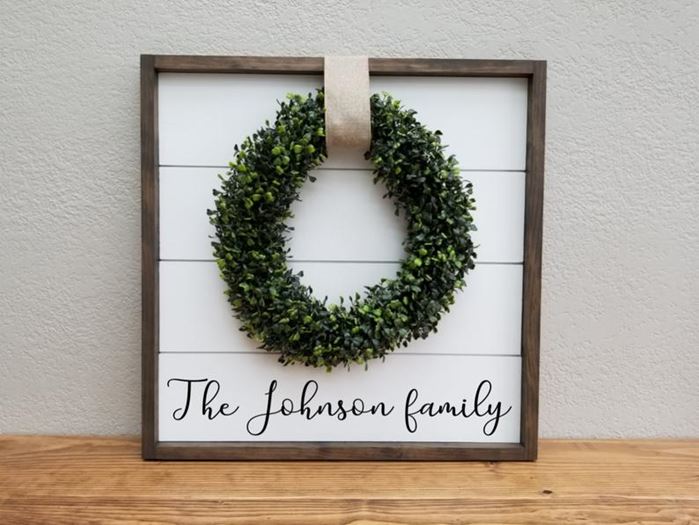
Sign and Wine Co
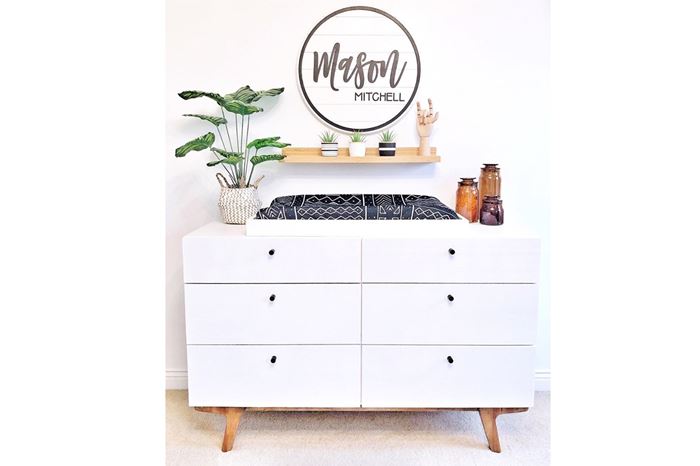
Lovely Grain Studio
Our Handcrafted Life
Download these free shiplap sign project plans and discover more shiplap projects you might enjoy.
Ready to start your shiplap sign project? Find where to buy.