How to Install Vertical Shiplap
Posted 3/9/2021 by Amanda Hall

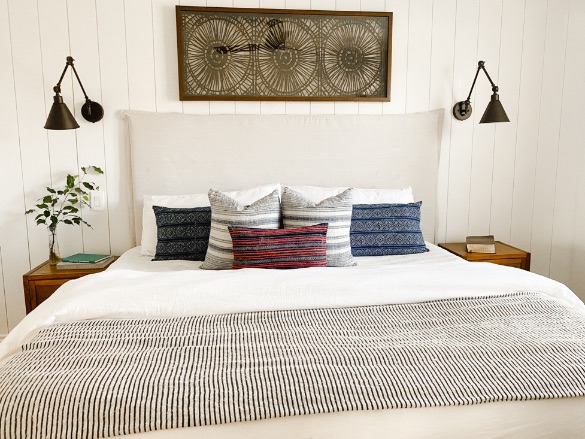
We recently teamed up with Shelby Coleman and Michelle Wallace from Farmhouse Living to transform a former garage into a modern bedroom. This mother-daughter design duo hosts a home design blog and offers online decorating consultation services, so all things interior design is their specialty.
Bedroom Shiplap Design Collaboration
The duo was looking for a product that fits their design aesthetic and was easy to install since they were handling the project themselves. Our 1x8 Timeless primed shiplap checked all of their boxes. They also used our prepainted Timeless Farmhouse White shiplap to easily cover their popcorn ceilings in their kitchen and living room.
It’s important that you use a quality shiplap product. Each of our boards are straight because it’s made from finger-jointed, knot-free radiata pine wood, which resists warping. Shelby shares on the importance of quality, "I had a friend take on the plywood shiplap DIY once and the boards were not straight, and the gaps were uneven. This really swayed me towards finding a quality product for my accent wall.”
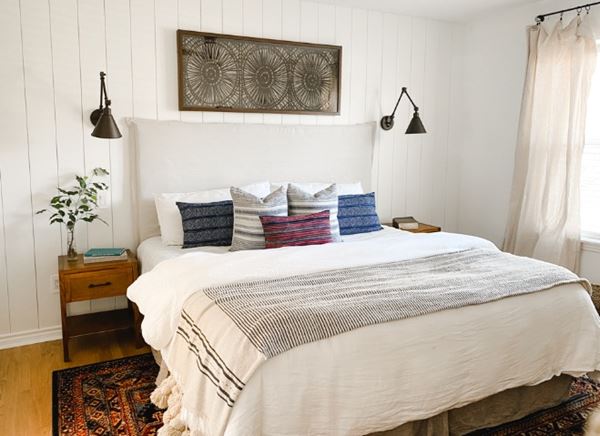
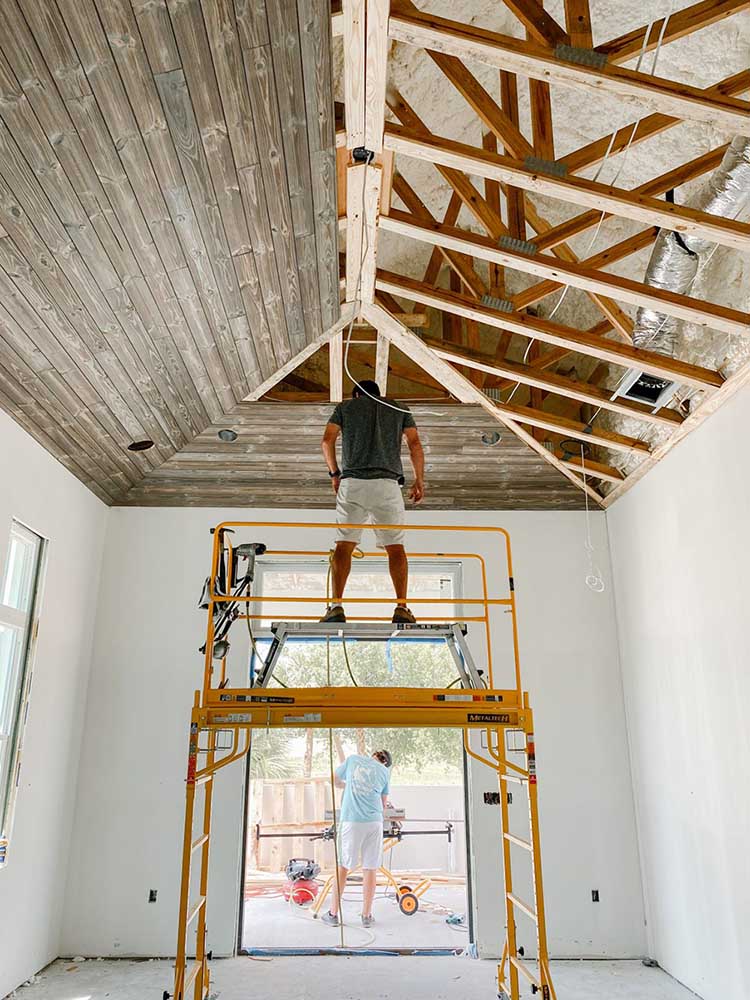
This bedroom transformation showcases our Timeless shiplap installed vertically on an accent wall.
Between our prepainted options and our Timeless boards that come with precut nickel gap spacing, we create products that are meant to save time and reduce stress, especially for someone who is new to DIY projects.
Shiplap is traditionally known for its horizontal application, but Shelby and Michelle wanted a more modern look, so they opted for vertical shiplap. If you are interested in installing vertical shiplap, we’ll share the basics steps. Before you begin, here’s what you’ll need.
TOOLS:
- Nail Gun
- Jigsaw
- Stud Finder
SUPPLIES:
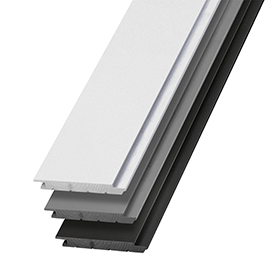
- UFP-Edge Timeless nickel gap shiplap
- Brad Nails
- Caulk
Project Preparation
Before you begin, you’ll need to determine how many shiplap kits you will need. To do this, measure the length and the width of your wall. Multiply the length by the width to get the square footage. Take the square footage and plug that into our coverage calculator to easily figure out how many kits you’ll need.
Related: How to Measure Your Wall for Shiplap Installation
After buying your material, allow the wood to acclimate to the temperature of the room before installing it. This is because wood is hygroscopic, meaning it will expand and contract depending on the moisture level in the air. A good rule of thumb is about three days for acclimation.
Step 1: Clear Walls and Mark Your Studs
Start by clearing out furniture and décor. You’ll also want to remove outlet covers and switch plates. Use a stud finder to mark your studs so you’ll know exactly where to nail the furring strips.
Related: Locating and Marking Studs for Shiplap Installation
Step 2: Install Furring Strips on Studs Horizontally
This is the key difference between a horizontal and vertical application of shiplap. Furring strips are not necessary if installing horizontally. We recommend installing furring strips into the studs horizontally every 24 inches. The furring strips create a secure base for the shiplap since they are nailed directly to the studs.
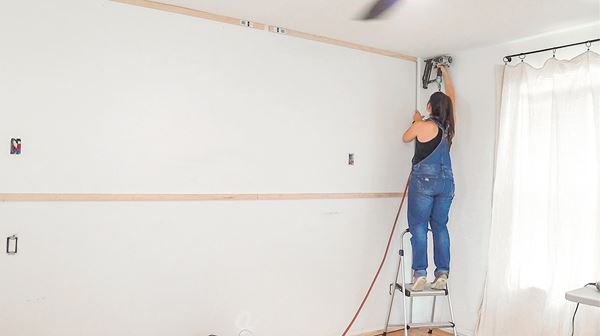
Shelby opted for installing furring strips every four feet than the two feet we normally recommend.
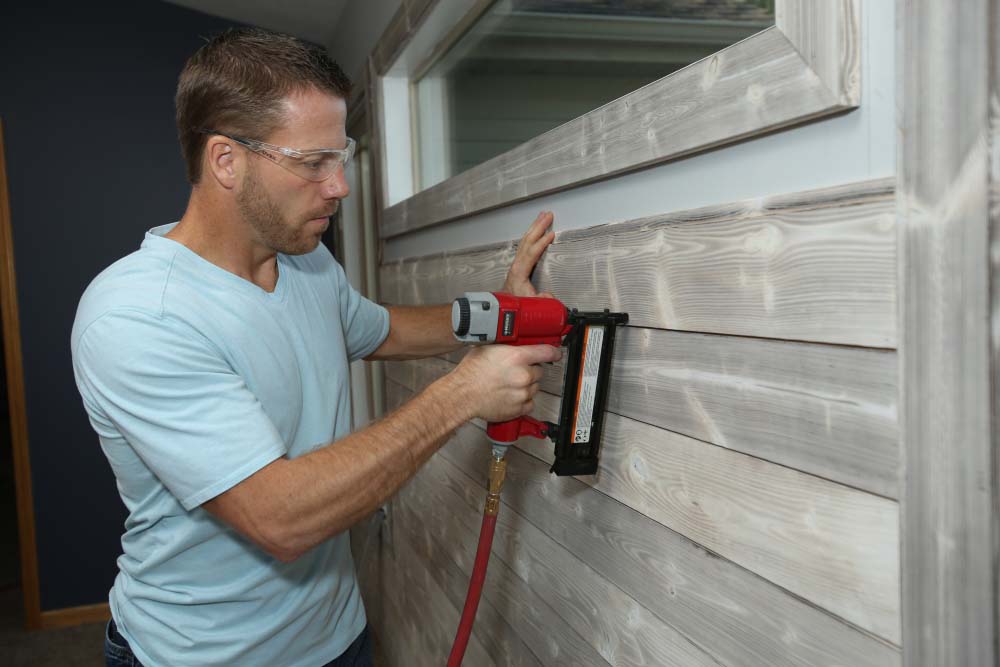
Step 3: Install Shiplap
If your ceiling height is greater than the length of your board, you'll need to measure the height of your wall for the first board. Not every ceiling and/or flooring is perfectly straight and level so make sure to measure ceiling to floor every few feet. You’ll want to stagger your seams and use varying lengths to create a balanced look, just like you would with a horizontal application.
Related: How to Stagger Shiplap
Step 4: Installing Shiplap Around Outlets and Switches
You’ll need to cut boards in order to fit around outlets and switches. This video explains the process:
Step 5: Cut Boards to Fit
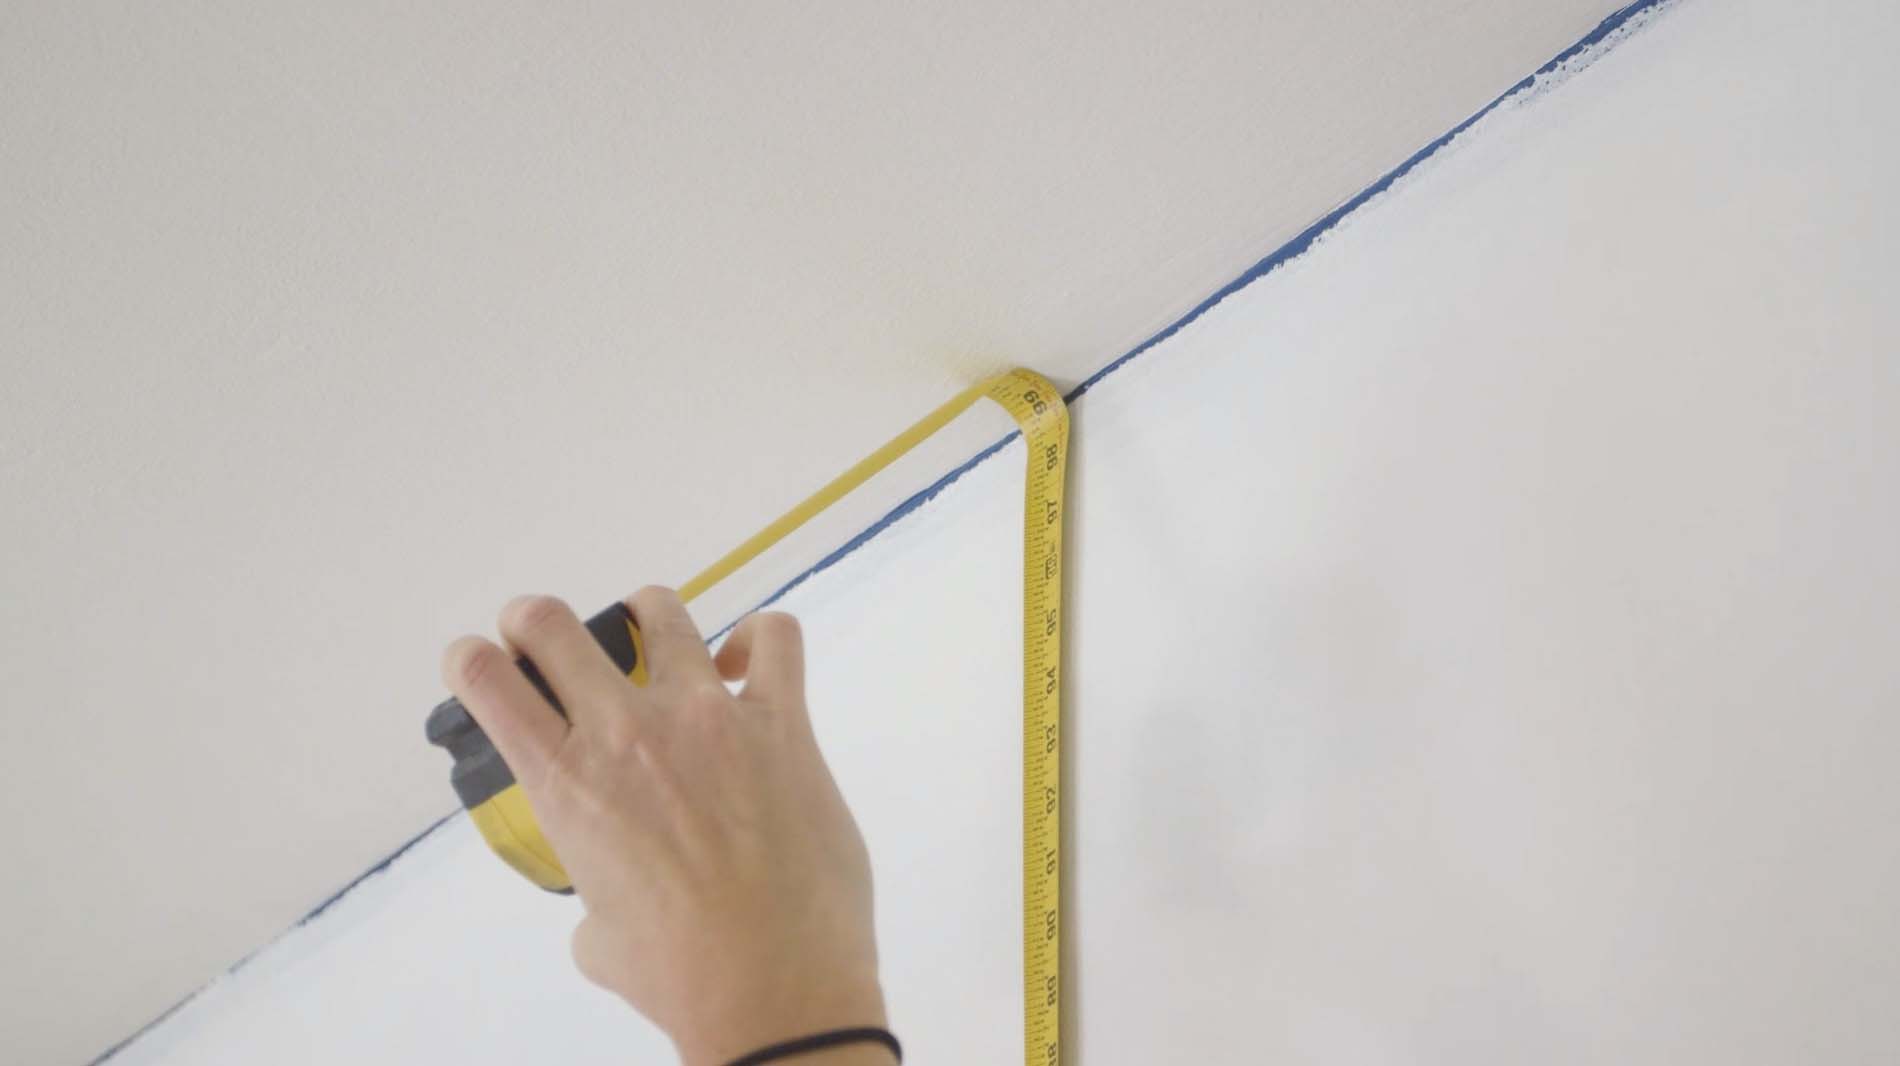
The final row of boards will likely have to be cut lengthwise to fit. Measure the shiplap gap in several places in case the wall isn’t perfectly level. Cut the boards with a circular saw or jigsaw.
Step 6: Install Base Boards, Add Caulk, and Paint to Finish
You’ll want to caulk along the sides of the boards where they meet the adjacent wall and along the tops where the board ends meet the ceiling for a sealed, finished look. If you are painting the shiplap, a paint sprayer is the optimal tool, but you can use a brush and roller. If you are using a brush and roller, you’ll want to make sure the paint is even in the gaps and has a consistent smooth finish.
A Little Determination Can Change Your Home
With our prepainted shiplap boards, a project like this can be done in an afternoon.
Shelby commented on the ease of the project: "I'm not your classic DIYer. Power tools have intimidated me in the past and I typically look at projects like this like they're for professionals only. But after watching others DIY some amazing projects on Instagram, I was inspired to give it a go. It was easier than I expected!"
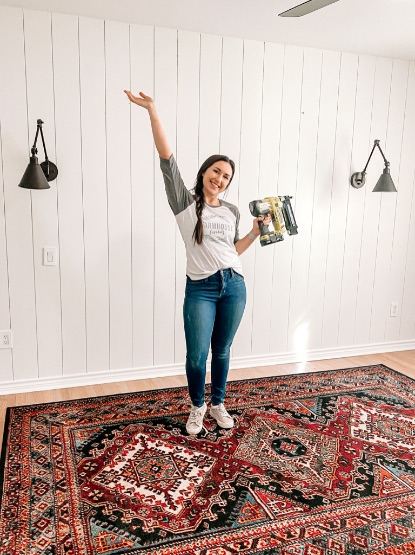
If you have never attempted a project like this, it can be intimidating at first, but with the proper tools and how-to's, anyone can achieve a terrific result. Shelby shares, “It blows me away how much can change in a home with a little determination.”
We hope you are inspired to start your own shiplap project. We’d love to see your home project. Tag us with our social handle @ufpedge so we can see your masterpiece.